Showing posts with label 3D Printing software. Show all posts

Friday, March 9, 2018

Multi-Material 3D Printing is a lot more fun than you think!

The 3D Printing community is constantly making new efforts and updating new processes to get things done easily. The most difficult process is multi-material and multi-color 3D printing. Both are time-consuming processes and also more fun. You can know everything about multi-color printing at Now you can 3D print your models in multi-color.
During the initial stages of 3D Printing, the whole object had to be printed using a single material. That’s impossible because you can’t print a house or fashion accessories with a single material.Thus Multi-material 3D Printing, prints a single object with two or more filaments rather than just using PLA, ABS or any other filament.

This is a bit tricky! You can use a dual extruder printer or get things done with a single extruder printer itself.

The question is how?

A Dual extruder has multiple extruders that allow you to have multiple filaments ‘piped in’ and ready to be used whenever the object being printed requires them, and this is where the saved time comes from.Having different filaments ‘ready to go’ means you no longer have to pause a print, empty out the extruder of the previous filament, feed in the next filament, and resume the print every time you need a different material. The printer will simply call on which filament it needs when it needs it.
While with a single extruder when you want to print a multi-material thing you have to replace the previous material with the other one and then print it. This takes time as in 3D Printing it prints layer-wise and if you have multiple layers of multiple materials than it requires a lot of time just changing the filament.

How to create a multi-material print with a Single Extruder printer?

The secret? Spread the different materials across different layers of a single extruder printer. Both of the models that are shown have the materials at separate heights; on separate layers. The process basically works by printing with one material to a certain height, pausing the printer, switching materials, and continuing the print.

Step 1: Choose your 3D Model

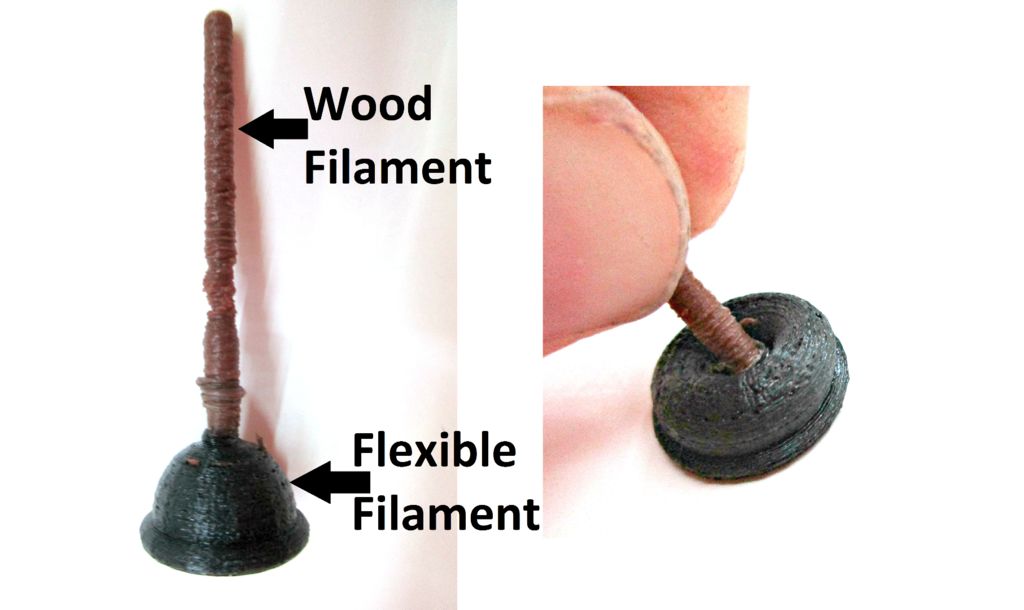
Icecats has explained this with really well with an example of printing a toilet plunger as it has a flexible filament and a wood filament.So you need to find a good 3D model from Thingiverse or MyMiniFactory or any other 3D Printing website. You need to keep certain things in mind like:

  • Choose the object wisely which makes sense of carrying out a multi-material printing process.
  • Keep a certain height within two materials as this is the key to the process like the flexible plungers base is lower than the wooden handle.
  • See whether the model is printable with the desired materials.

Step 2: GCODE and other settings
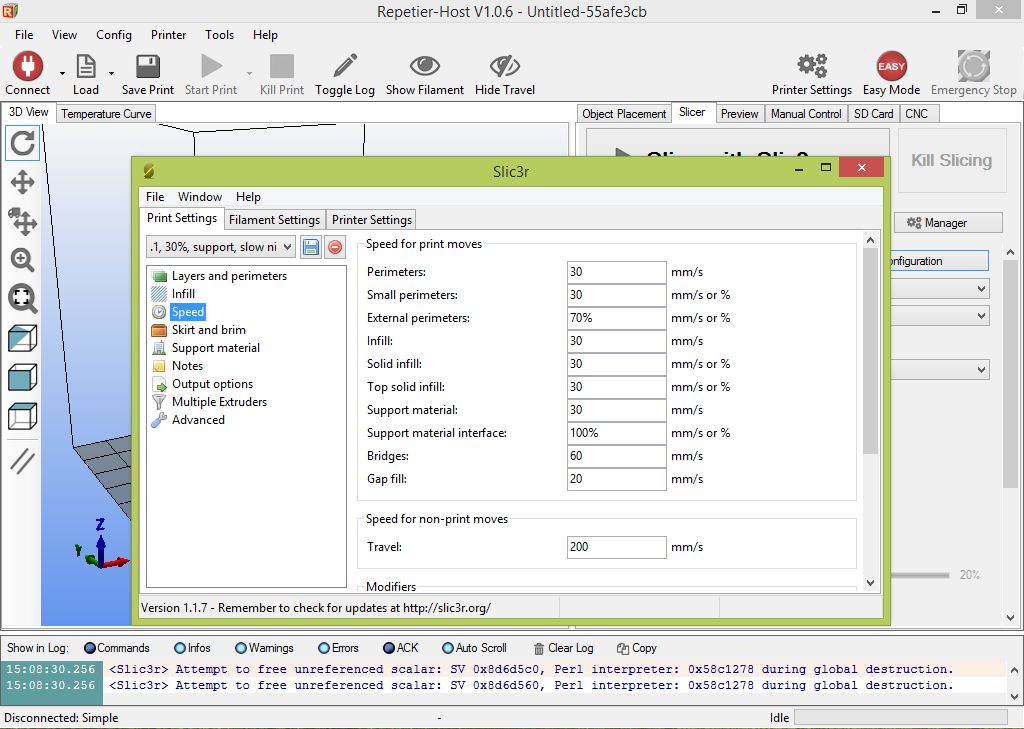
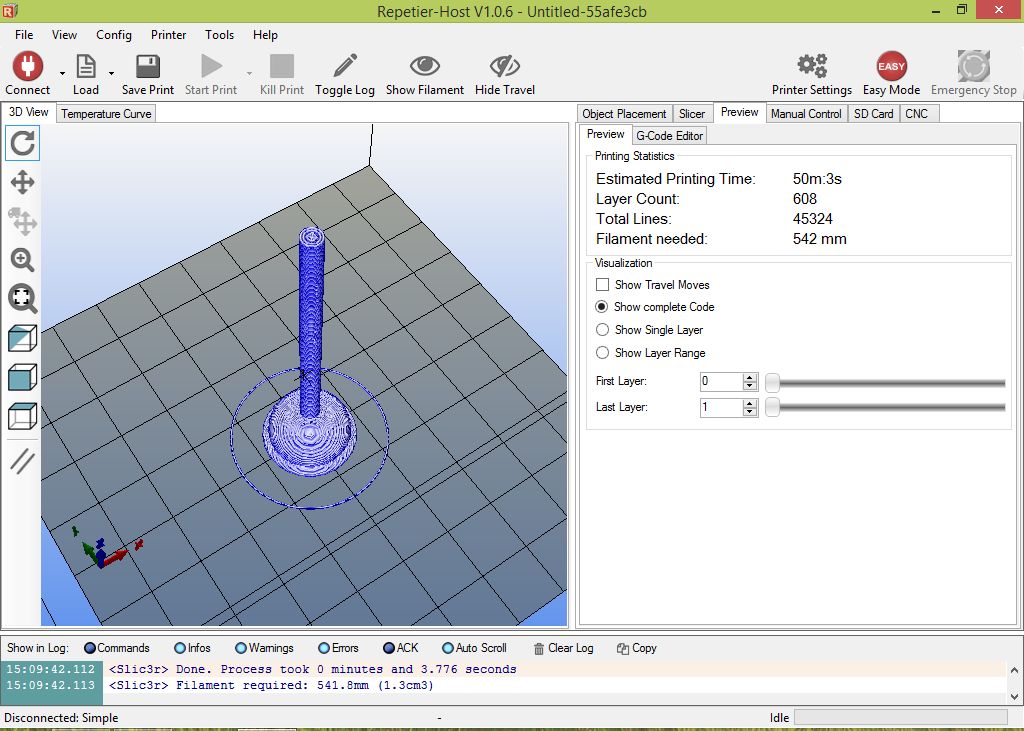
  • Slice your 3D Model into a GCODE with your 3D Printers host software.
  • Look up the speed settings into it and then set it up to the slowest.
  • Find a proper balance of layer height, infill, and retraction settings for your prints.
  • After you are ready, heat the printer and fill the first material into it. You can change the temperature later when you want to fill in the other material. The first material used by icecats was Ninjaflex.

Step 3: Switching materials
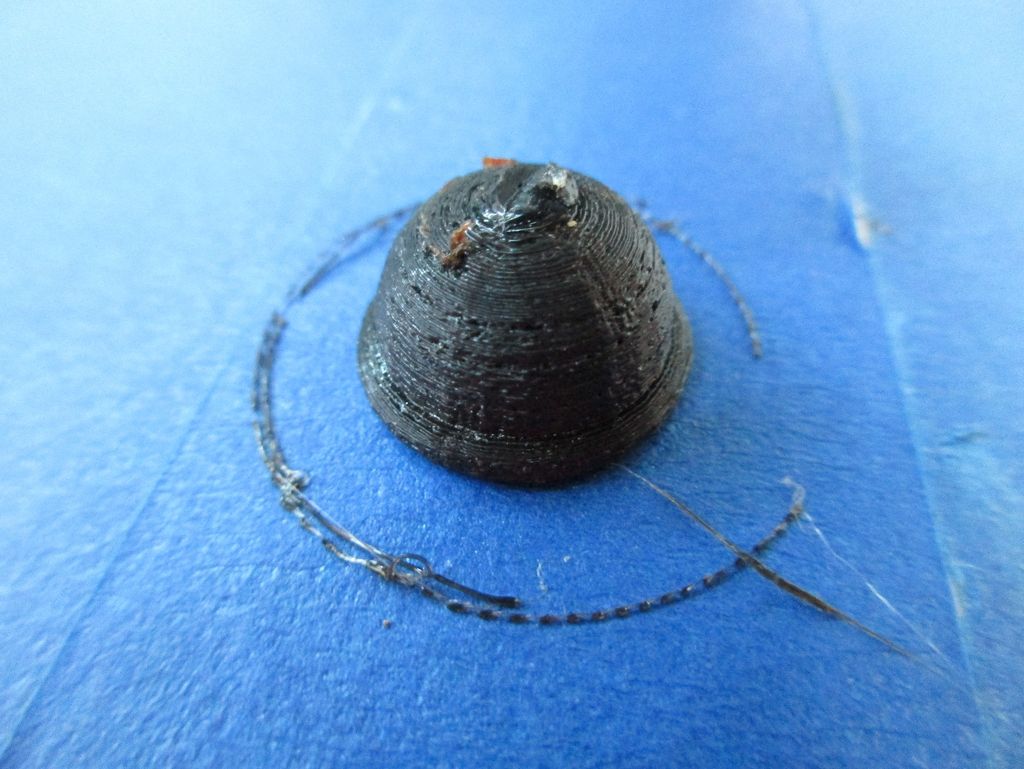
  • Monitor the printer as the first material is extruded.
  • When you want to switch the material, just pause the printer, it usually takes a bit of time for the printer to stop, raise the printer to 10 mm height on the z-axis.
  • To prevent the leakage you need to place a piece of paper below the extruder. If necessary, adjust the hot end temperature in the Manual Control tab to suit the second material.
  • Switch to your second material and purge the extruder until the new material comes out pure. Remove your piece of paper and continue the print. Repeat this process as many times as necessary.

Step 4: The Final Results
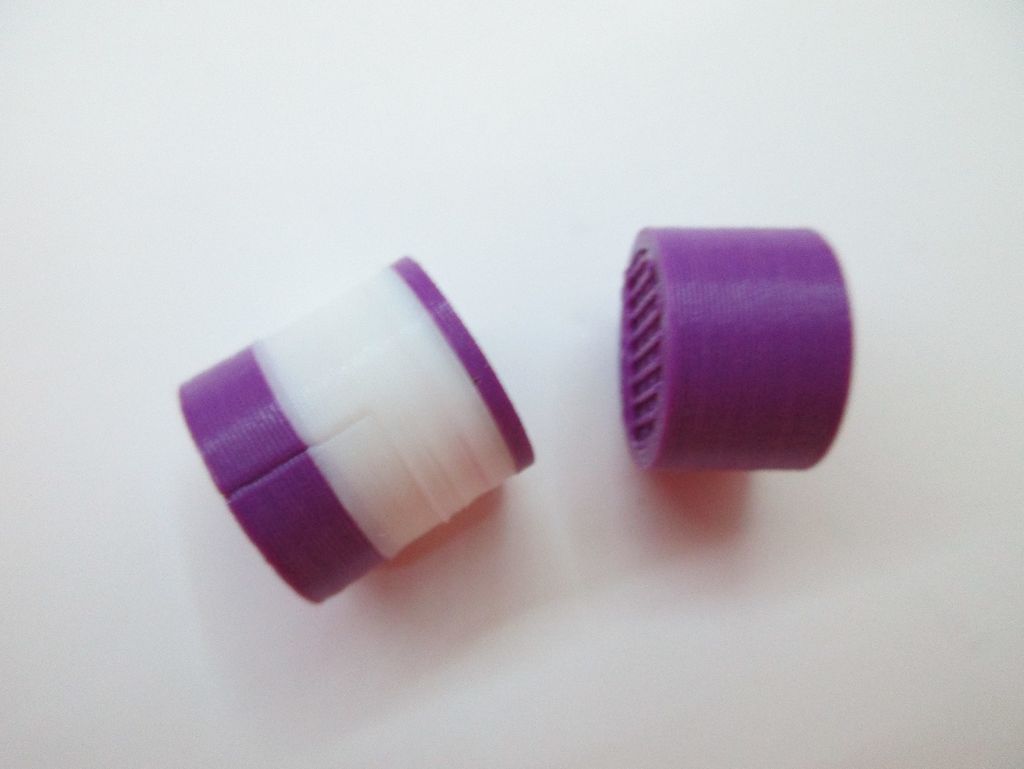
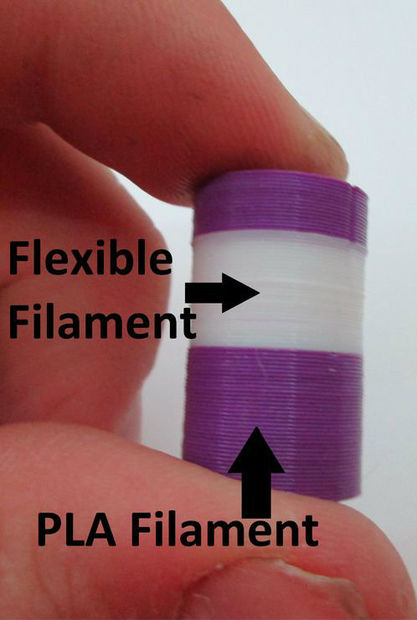
Icecats tells how his 3D Print resulted in, he basically used two different  PLA/NinjaFlex and wood/NinjaFlex. He says that both tests worked well for him.The purple and white cylinder shown above was printed with PLA and NinjaFlex. He has stressed that the print until it broke- two PLA layers spit apart, which means that the NinjaFlex/PLA bond is actually stronger than the PLA/PLA bond! The bonding between the wood/NinjaFlex was similarly high strength.

Here are some other ideas for prints to try.

  • hard PLA/ABS box with NinjaFlex hinge
  • hard PLA/ABS model car with NinjaFlex shocks and tires
  • wood “table” with PLA/ABS legs

Thus you can try multi-material printing with your single extruder printers as well and give your prints the real touch as you want.

Get these dual or single extruder printers for better prints and experiences of 3D Printing.

Credits: instructables.com.

Tuesday, February 6, 2018

Need a 3D print? These sites will print your design for you!

Just because you don’t own a 3D printer doesn’t mean you can’t experience the joys of 3D printing! And if you’re wondering how then its high time we talk about 3D printing services and how cool they are!

Essentially, a 3D printing service or company will print your design for you and deliver it right to your doorstep.

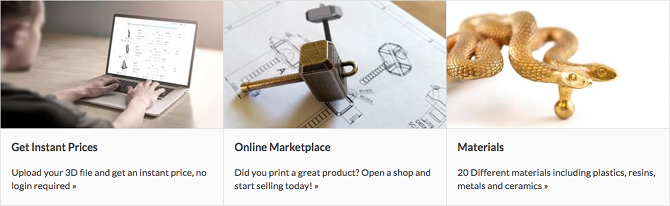
All you need to do is upload your model design, STL files, scans or even physical items that you wish to be 3D printed. Apart from this, there are a variety of models available that you can choose from. Alternatively, if you’re looking to sell your designs then you can consider listing your services as well.

We’ve compiled a list of some of our favorite 3D printing services that you absolutely must check out-

1. Shapeways

Technologies: SLS, SLA, Binder Jet Steel, Wax casting, Material Jetting

Materials: Plastic, Metal, Ceramics, Sandstone, Wax

One of the most popular 3d printing services, Shapeways is perfect for both 3d printing enthusiasts as well as newbies. You can either upload your STL files and custom designs or opt for their professionally designed items and customize them to your liking.

2. i.materialise

Technologies: FDM, SLS, SLA, Casting, CeramicJet, Colorjet, DMLS, Indirect Metal Printing, Polyjet

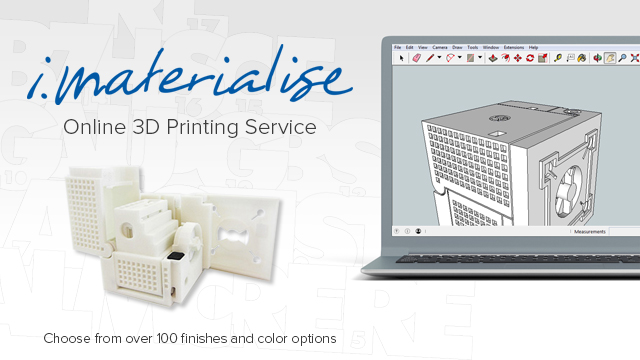
Similar to Shapeways, i.materialise lets you upload your designs and have them printed out for you. For designers, they can either sell their 3d print designs via the gallery on the i.materalise online store or embed them into their website.

Materials:  Plastic, Metal, Ceramic, Wood, Resin, Sandstone

3. 3D Hubs

Technologies: FDM, SLA, SLS, Jetting, Metal Sintering, Paper, PolyJetting, CFF, Wax Casting

Materials: Plastic, Metal, Paper, Resin, Stone, Wax

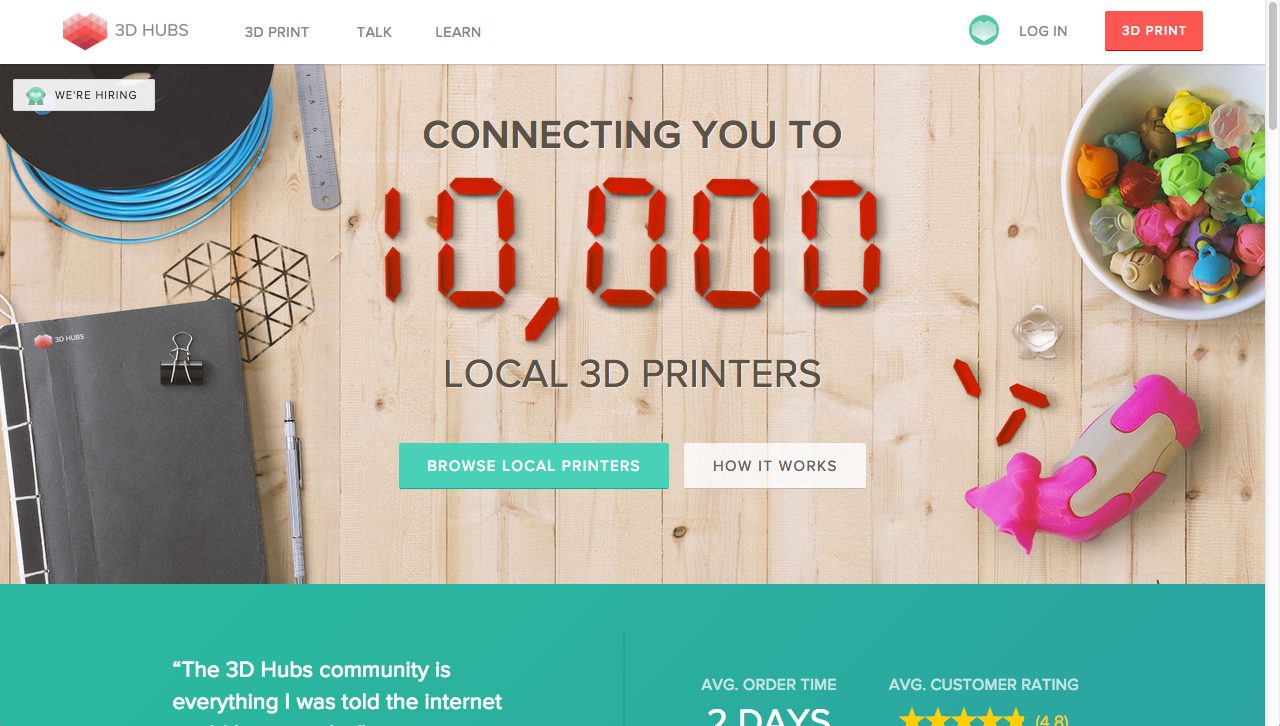
Rather than 3d printing your object for you, 3D Hubs lets you connect with professionals who own a 3d printer and will print your design. It’s even more convenient as you can find someone living in your area itself who offers 3d printing services, upload your STL files and instantly connect with them to get an estimate.

The company makes sure all transactions between the “hubs” and customers are performed properly. You can find these 3D Hubs all over the world mainly in Europe and the US but also in Australia, Asia, Africa, Russia, and South-America.

4. Sculpteo

Technologies: FDM, SLS, SLA, DMLS, Casting, CLIP, ColorJet

Materials:  Plastic, Metal, Ceramic, Resin, Full-color, Wax

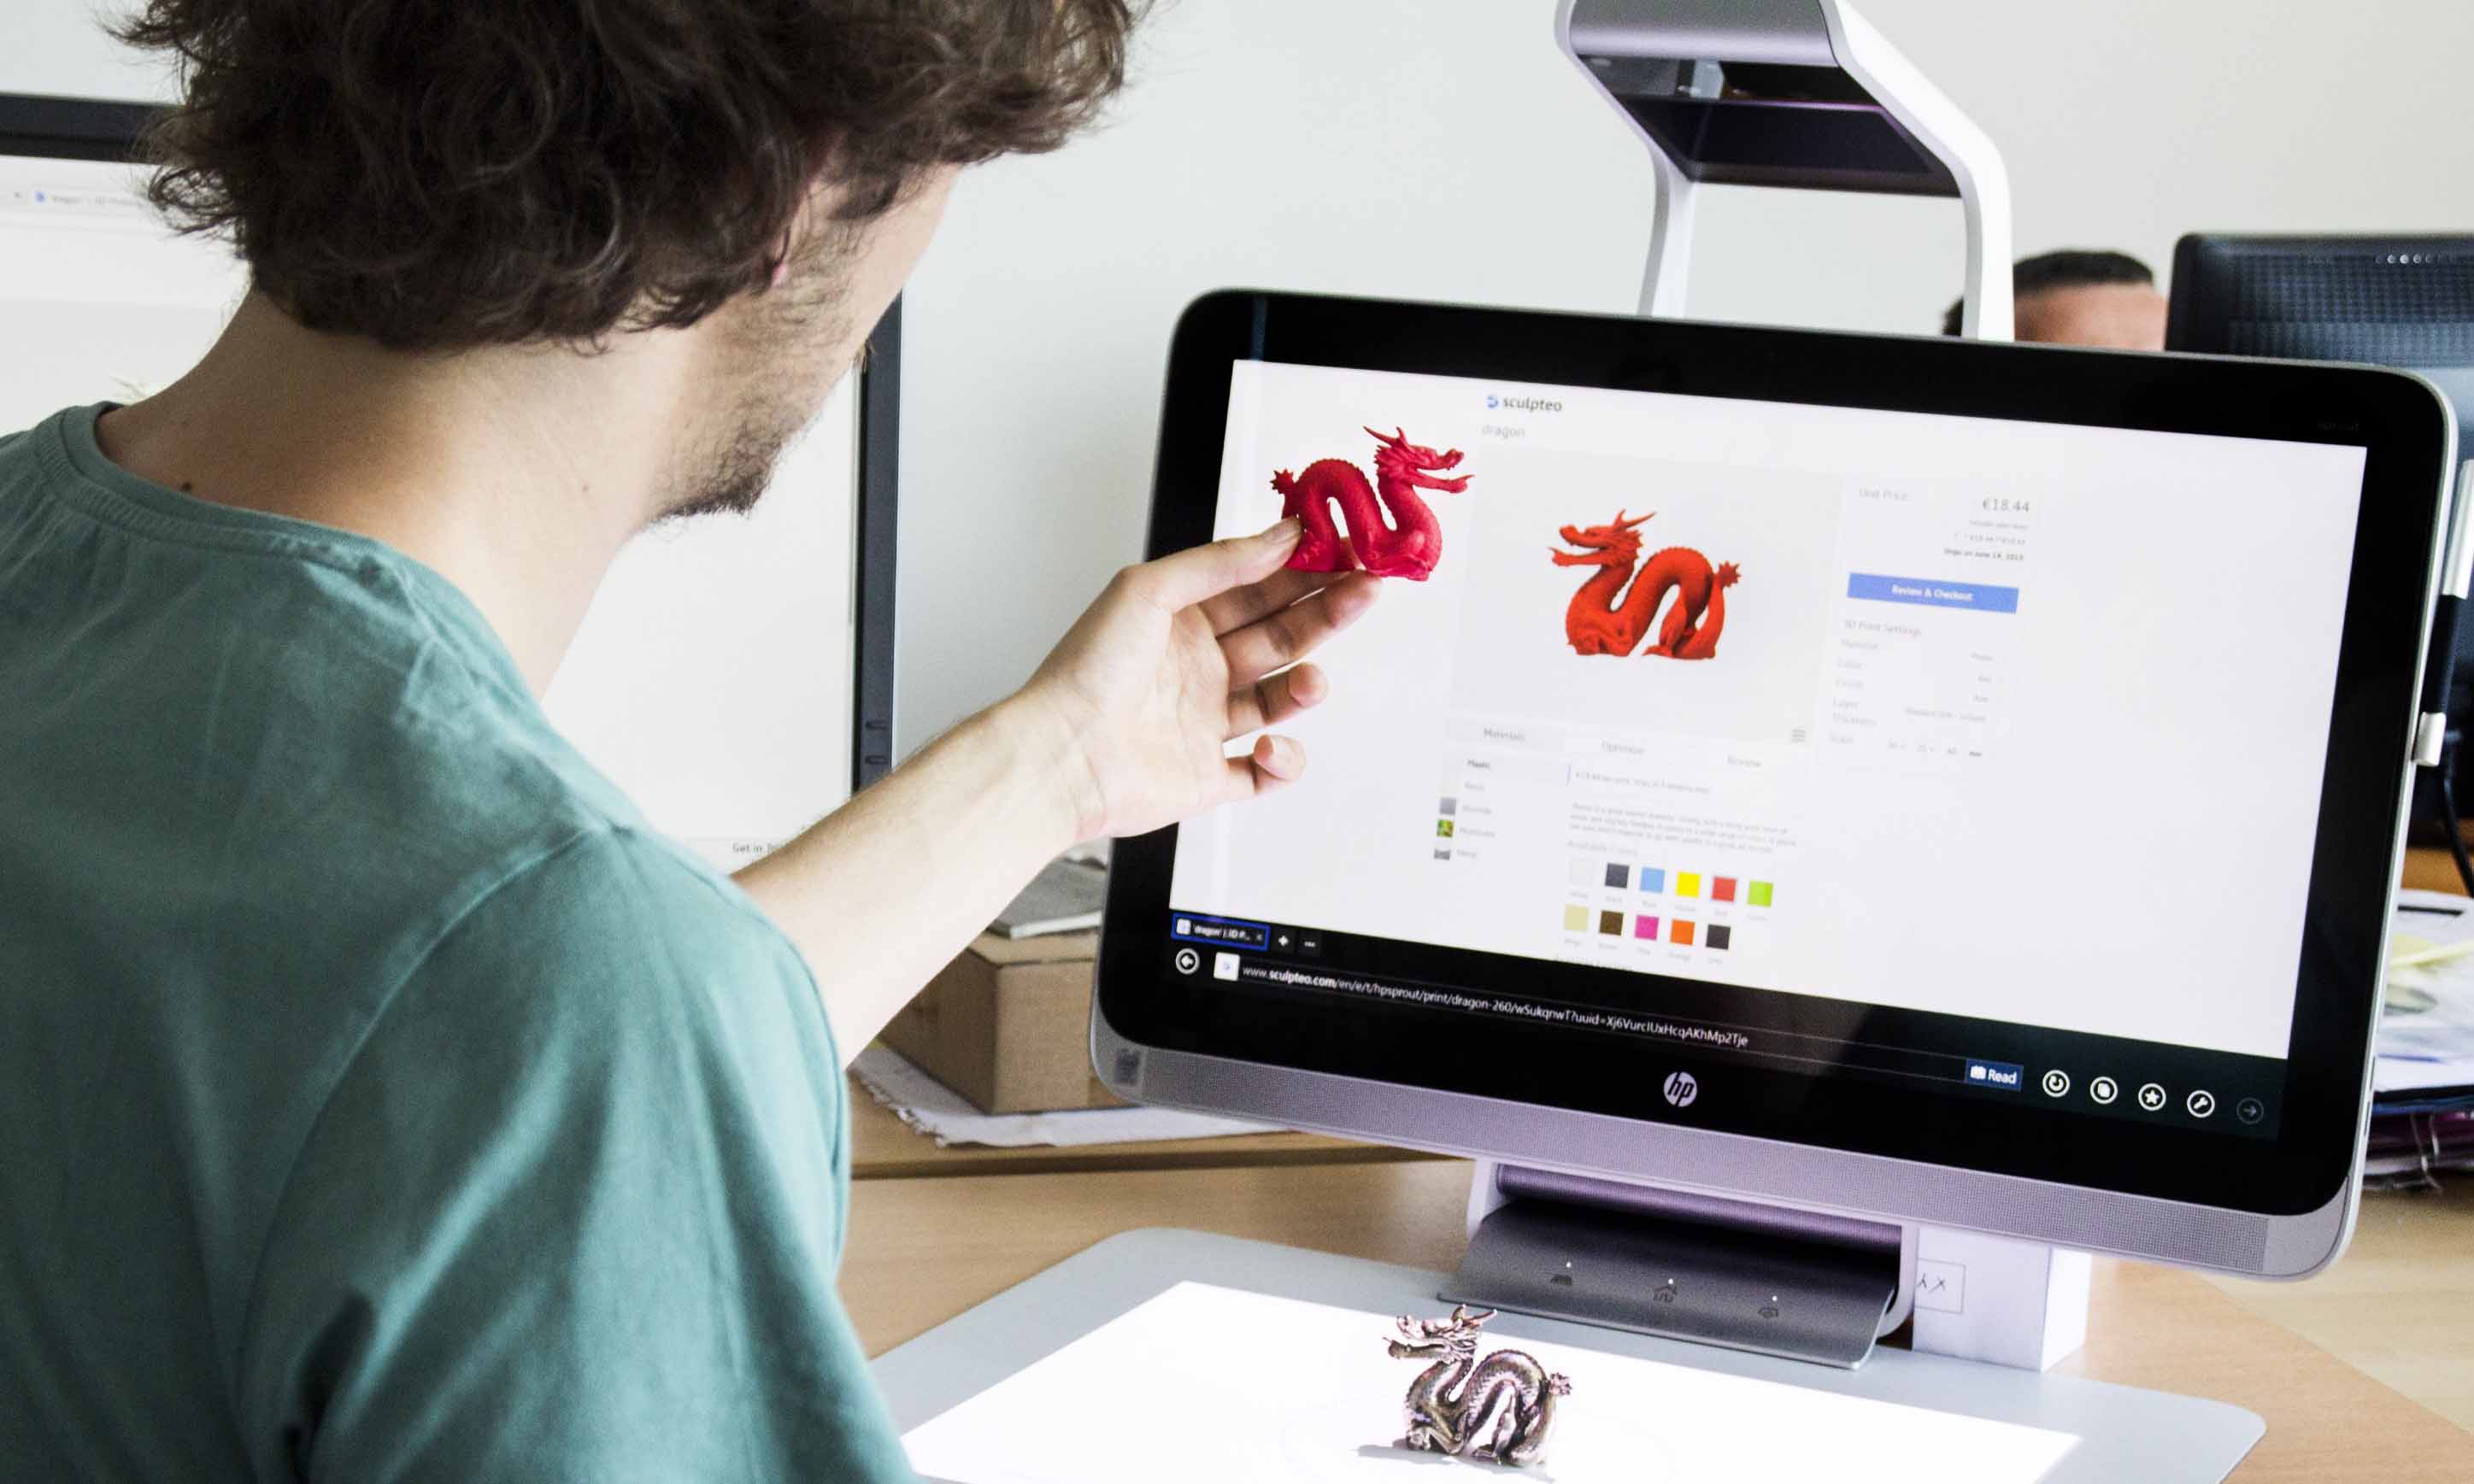
Sculpteo offers a large variety of materials and 3D printing technologies to choose from. From art pieces to jewelry and interior decorations, you can find something that you love and even take it one step further and customize it. Like the other online sites, Sculpteo too offers hobbyists and professionals to open up an online storefront and sell where they can sell their designs.

When asked about his views on 3D printing, the founder of Sculpteo, Eric Carreel says “Soon, instead of buying things that are made in large quantities at factories, we will buy objects made in quantities of just one, specifically for us”. And if you take a look at Sculpteo, you’ll feel the same!

3. MakeXYZ

Technologies: FDM, SLS, SLA, Material Jetting

Materials: Plastic, Resin, Nylon

What sets MakeXYZ apart from other online services is that it offers you a handy little perk. You can either upload your files and have them printed or you can choose to allow an experienced Makexyz print manager handle the process for you. For newbies especially, this tool gives you a very smooth experience.

Apart from this, you can upload your files in a variety of formats like stl, obj, zip, step, stp, iges, igs, 3ds and wrl. The site also includes a “Find 3D Printers” list that includes the printer’s name, location, and his/her 3D print capabilities.

3D printing services are also a great way to test out 3d printed objects before buying your own 3d printer. And if you love the experience and can’t wait to buy your own then take a look at our Store.

Credits: imaterialise.com, makexyz.com, sculpteo.com, 3dhubs.com, shapeways.com

Saturday, January 27, 2018

You won’t believe these 3D Printers cost just below $500!

A common misconception boggling the minds of people who want to start with 3D Printing is – 3D Printers are too expensive, just because the original 3D Printed object comes out of the machine and the object is tangible also the industry is quite new and still some people just know the brim of 3D Printing. We are going to clear out this misconception here itself. 3D Printers are available for everyone right from beginners to the ones having a handful of knowledge about it and are in the industry for a long time. You can read about different misconceptions about 3D printing here.

Know these 3D printers just below $ 500, we have listed them accordingly to the best reviews from Amazon.

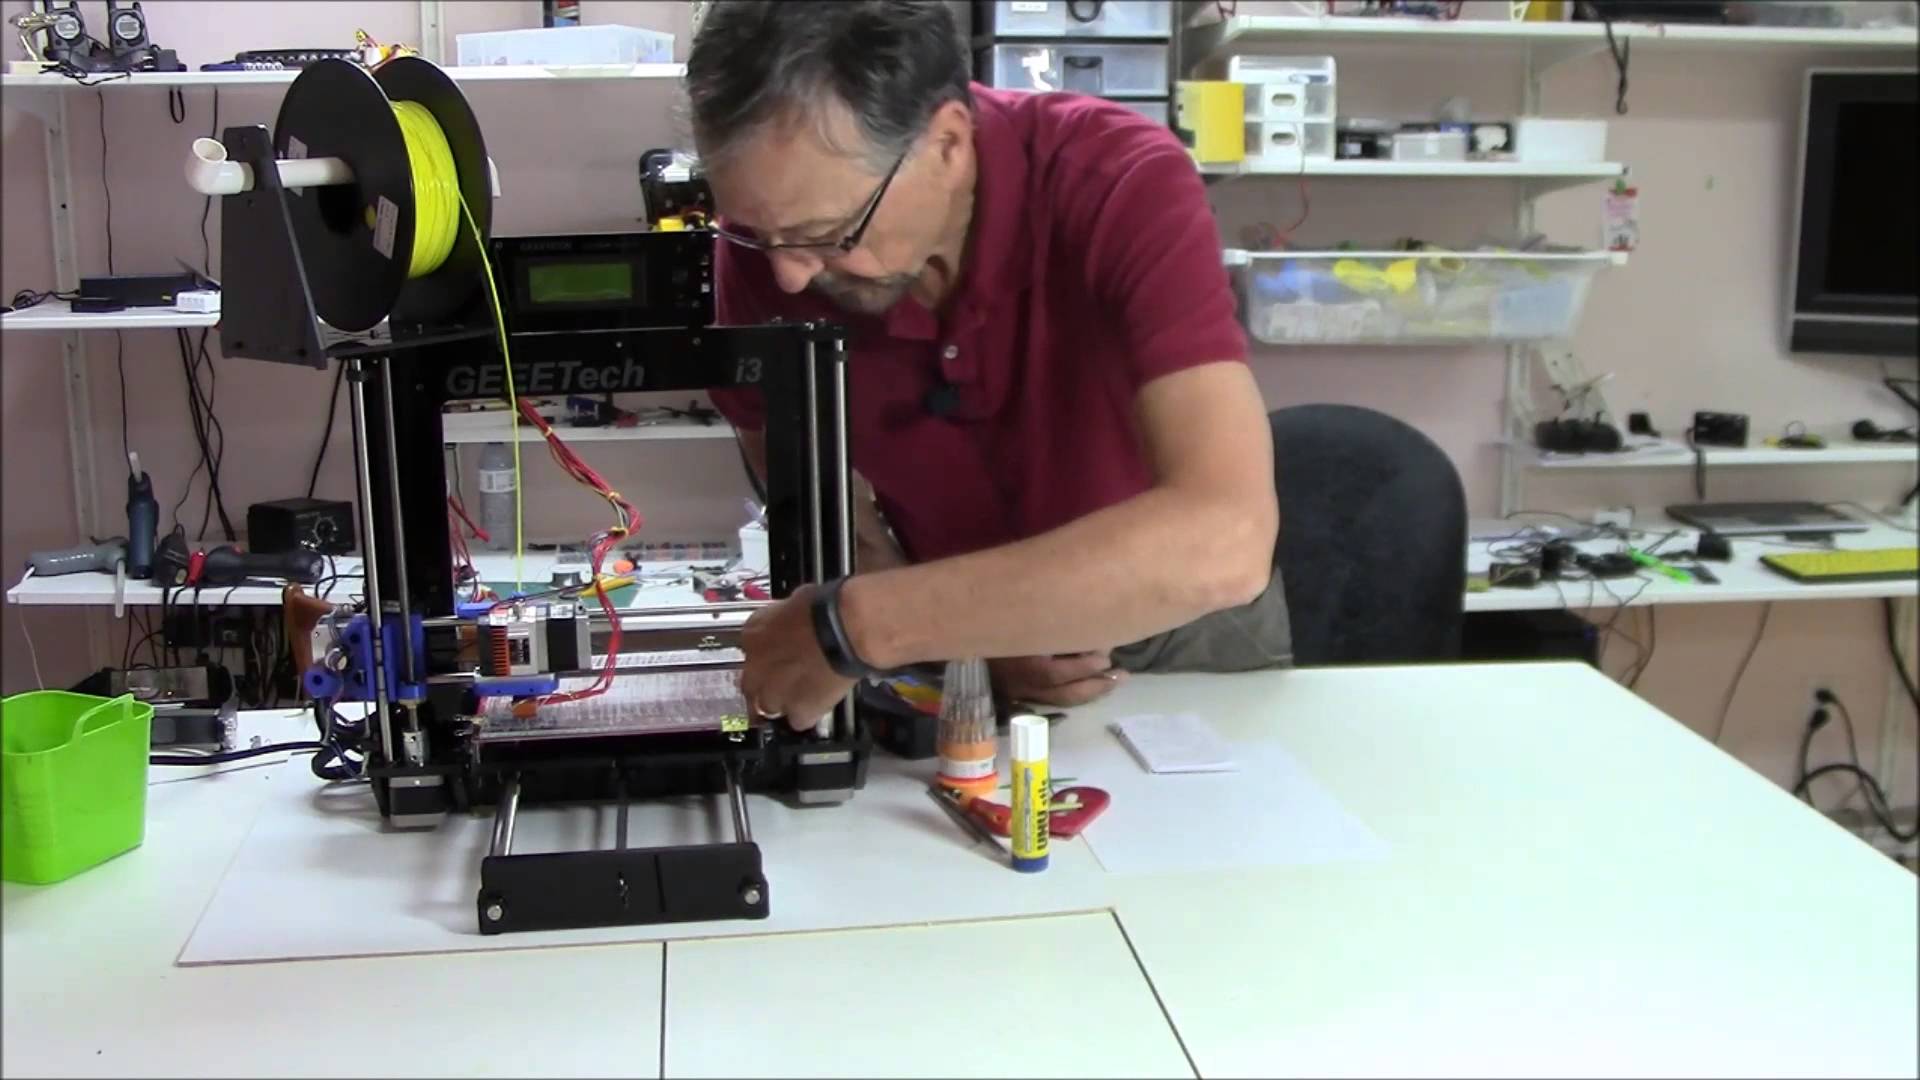
Acrylic Geeetech Prusa I3 pro

Newbies get ready coz this printer gonna teach you a lot. After being ordered the printer comes with a great packaging without damaging the stuff and the wooden fragmented pieces are easy to assemble.Approximately it takes 5-7 hours to assemble and if you read the instructions clearly you won’t land up into messing it up.

It’s not like a put it together and it works kind of kit, you really need to fiddle with it and show patience if you want great results. The Best way to get the most out of Geeetech Prusa is to watch the youtube videos and read the manual given along with it. If you are starting with printing out the objects then do keep in mind and study well about the slicer settings also the bed gets heated and so fans for cooling the bed is a must have in your kit.

Only things you will need to buy extra after purchasing this item to get like prints is PTFE grease (for z-axis threaded rods), Filament, part cooling fan(s), and tweezers. Now all of these are optional but will aid in getting those high-quality prints much faster.

Buy this on Amazon.com at just $313.99

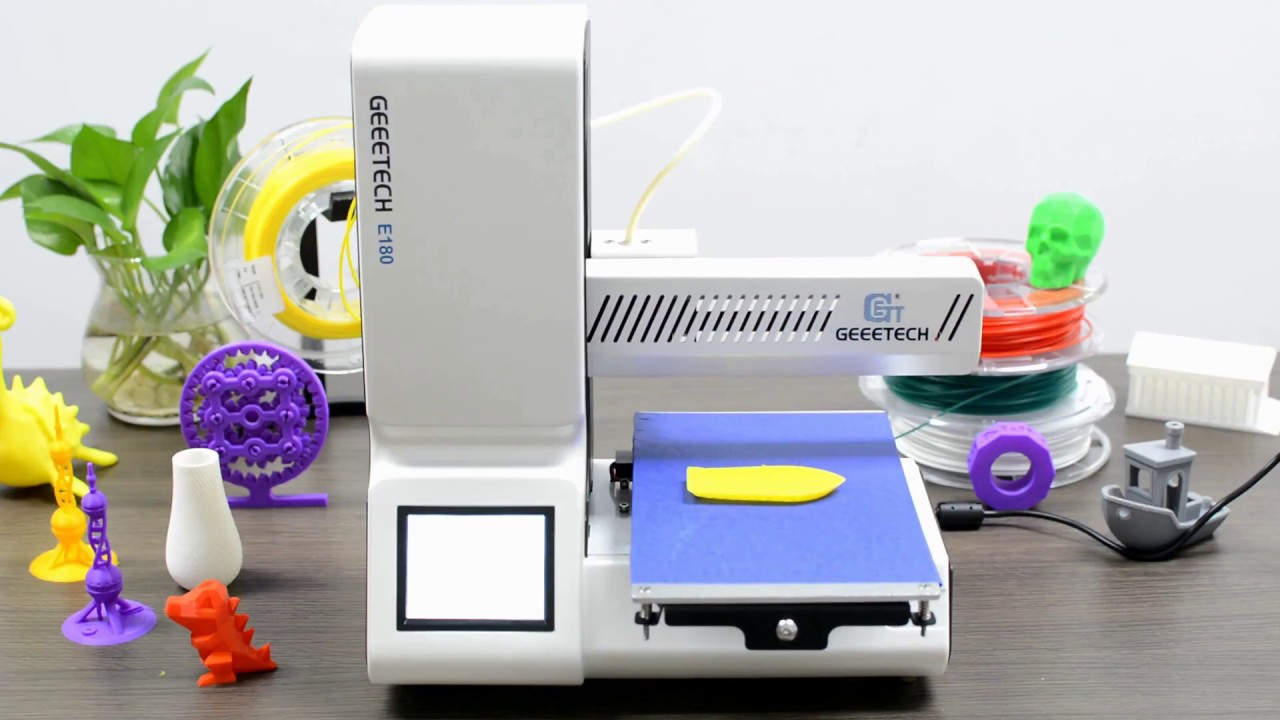
Geeetech E180 Mini Printer

Viewing from the education perspective, this printer focusses on clearing the class book concepts with practical solutions. An elegant and simple design with a lot to offer. Wifi connectivity makes the printing more simple and easier.

Printing via EasyPrint 3D App is quite easier where you don’t have to manipulate the settings much and also a free access to Cloud gallery. You can print large objects by printing them in chunks and then joining them.The touchscreen user interface allows you to change the relevant parameters in real time also the break resuming capability is great helping you to continue the product from where it had stopped. The tiny machine can create giant objects with best finish and smoothness.

Buy Geeetech E180 Mini 3D Printer only at $298.00.

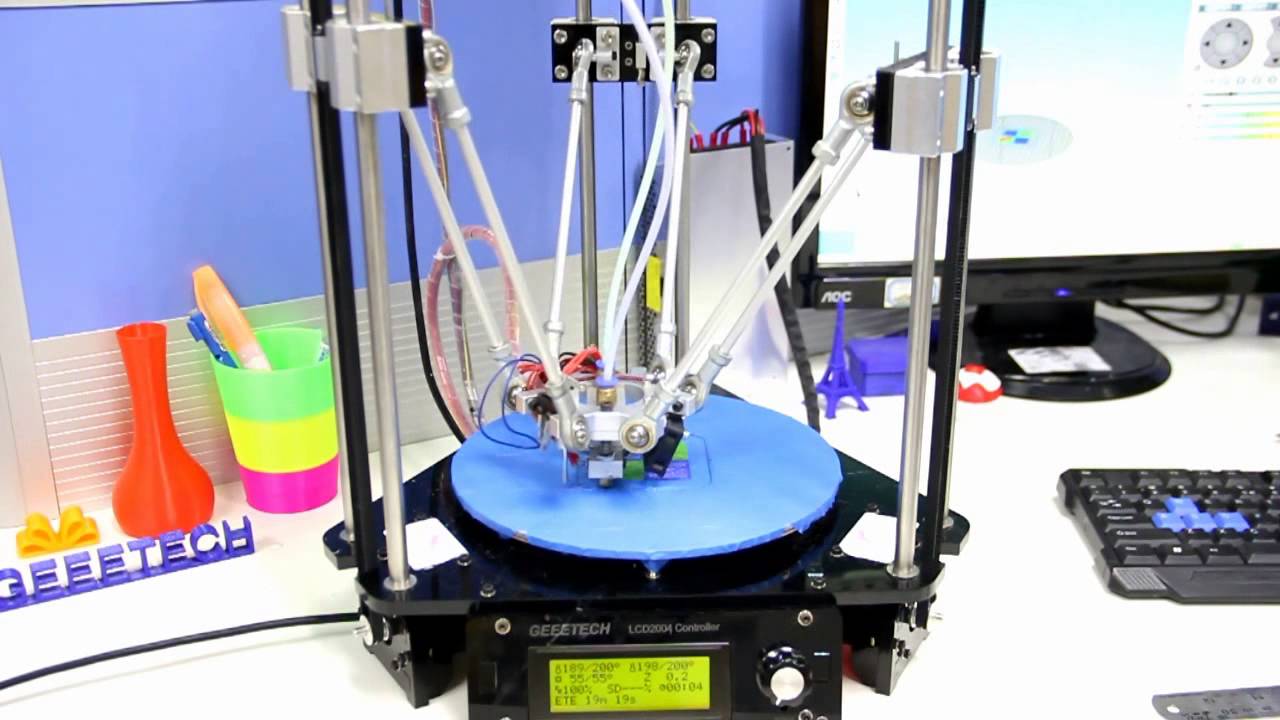
Delta Rostock mini G2S pro

This printer is an improved version with more accuracy and speed enabling you to print a single object of two different colors or two objects with a different color on the same print bed.Follow the step by step procedure for assembling the printer just as given in the Geeetech Rostock mini G2 & G2s pro Quick Starter Manual.zip then continue to read the Delta Rostock mini G2& G2s building instruction.zip thus you are now all set to print on the Delta Rostock mini and get the best out of it. The only thing to remember while 3D Printing is patience and reaching out to people those who can help you solve all your difficulties.

Get this printer on Geeetech official website at just $269.

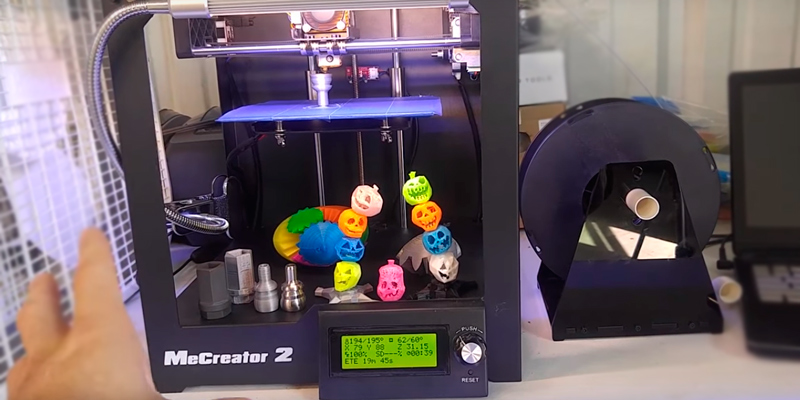
Geeetech High-Quality MeCreator

Precise in printing due to the upgraded hardware and optimized firmware, this printer allows you to efficiently print your designs.The half-open box type design gives protection to the printer and giving you easy access to observe whats getting printed out there.Its compact and comes with an upgraded extruder whose feeding part is V shaped ensuring constant and stable feeding.The best part about MeCreator is it supports various software tools and slicer tools giving you a better experience.

Get this printer on Geeetch Official Site at $385.00

So you need not wait to buy a 3D Printer now as you know it does not cost much and is amazingly helpful. The Geeetech team is always there to help out. You can share the problems you face with the printed on our Fb Group and we will make sure you get them solved.

Credits: youtube.com, i.ytimg.com, amazon.com.

Thursday, January 18, 2018

The Secret to Amazing 3D Prints Lies In These Slicer Settings!

Whether you’re new to 3D Printing or a seasoned enthusiast, you’ll definitely agree that a successful 3d print depends upon your slicer settings. Though there are many comprehensive guides online, many seem a tad too complicated to understand at times.

To simplify things for you here’s an easy introduction to help you understand the different slicer settings and which ones to use. Slicer settings will vary depending upon the material and the design that you decide to print so remember that there is no “perfect” setting.

Why do you need a 3D Slicer?

You have an idea for a really cool model that you want to print. But how do you actually convert that into something your printer can carry out? That’s the job of a slicer! A slicer software converts your digital 3D models into printing instructions that your printer can then follow. It “slices” your CAD model into horizontal layers based on your settings and calculates how much filament the printer requires as well as the duration of the print. It then sends all this information to your printer in the form of a GCode file.

Here are the basic slicer settings that you can’t skip out on-

1. First layer thickness

Located in advanced setting this determines the thickness of your initial layer. The first layer is basically the very foundation of your print design and a good first layer will ensure a good 3d print! By making the first layer thicker or thin, you can design a sturdy base for your 3D print.

2. Layer Height

Layer height determines the detailing or resolution of your 3D print. Prints that require fine detailing should be printed with a thinner layer height. This gives a smoother surface where it’s difficult to see the individual filament layers. The cons of this will be that your print will take much longer to print as there will be more layers. Here are some settings recommended for high-resolution printing:

.4mm nozzle fine = .1mm average=.2mm rough=.34mm

.35mm nozzle fine= ,1mm avg = .2mm rough = .3mm

If your print doesn’t require much detail, opt for a thicker layer which will be faster to print however the individual layers will be more visible. This kind of low-resolution printing is good for objects that don’t require detailing.

For medium resolution designs, opt for .1mm and for low resolution try printing at .2mm.

3. Retraction

The basic function of retraction is to pull the filament back from the nozzle and stop extruding filament when there are empty surfaces in your print. This prevents stringing and oozing.

This setting is usually enabled by default but if you’re unsure you can always check the settings. Retraction may sometimes cause the print bed to get clogged with excess filament in which case you should probably disable it. However, if you find your 3d prints starting to string then turn the retraction on. For further information on stringing check out our Troubleshooting Guide.

4. Print Speed

Print speed is the speed at which the extruder travels while it prints the filament. The settings for every design vary on the object you’re printing especially whether it requires detailing or not, as well as the filament and layer height. 3D Printing takes a long time so remember to sit tight and wait because increasing the print speed just so you can finish your print early may result in messy and failed prints!

For complicated prints, a slower speed will give you a higher quality print and vice versa.

5. Infill

The density of the object depends on the infill which is measured in % rather than mm. Solid and heavy objects will have a 100% infill whereas lighter objects will have a lower infill rate. The higher the percentage of infill, the stronger and heavier the object will be, and the more time and filament it will take to print. So keep in mind what you will be using your model for as it gets more time-consuming and expensive if you print with 100% infill.

For example, toys and display items can be printed with  10-20% infill but if you If you need something to be more functional and sturdy, 75-100% infill is more appropriate.

6. Supports

As the name suggests, supports literally “support” your 3D print and hold the objects up if there isn’t enough base material present. Without sufficient support, the overhangs can droop down and even fall off.

So how do you decide if your print needs a support?

The 45 Degree Rule states that in general, overhangs with a slope greater than 45 degrees will require supports. So any object with a “T” shaped overhang will need support to avoid drooping. Similarly, objects that form an “H” structure also require a support to hold the middle overhang up. However “Y” shaped objects are safe to print without support because of the gradual slope which has enough material beneath it to keep it from drooping.

Types of Supports

You can choose from 2 different support structures:

  • Partial: this is for designs where the section of the design that needs the support can  attach to the build plate like this

  • Complete: For designs that have more complex overhangs in a place that won’t attach to a support coming from the build plate, you can use supports all over.

7. Print Bed Adhesion

If your print won’t stick to the print bed correctly it can result in warping and usually a failed print. However, the 2 settings that will help you improve the adhesion are as follows-

Raft

Rafts provide a platform that sticks to the print bed easily. They can also be useful when printing models with small parts at the bottom of your print, like animal feet.  Rafts may be easier to snap off but the will leave you with a rough surface that you may have to sand.

Brim

Brim will add a single layer of material around the bottom of the object which keeps the corners of your model down. It is considered as the least wasteful of the two and a better option if you don’t mind taking a knife to your print to trim the brim away.

Slicer settings heavily impact the quality of your print so it’s important to have the right software and settings to get you the best quality print possible. For a smooth and successful 3D Printing experience check out EasyPrint 3D.

Credits- simplify3d.com, stampoin3d.blogspot.com, zx3d.com.au, 3dhubs.com, paulsaulnier.com

Monday, January 15, 2018

Tips And Tricks If You Have Just Started With 3D Printing…

Even if you are a beginner or have mastered most of the 3D printing software, the designing part is not that easy when it comes to 3D printing. Optimizing a 3D print is quite a tough task for beginners or even for a person who has spent quite some time in this field. Some essential tips and tricks are always helpful when you are into such a creative and complicated industry.

So here is a compilation of the tips from the professionals which will help you start smoothly with the 3D printing process and make your designing fun.

Start with sound Geometry

The geometry of the design depends on the software you use. If you do not use a proper software, it won’t create a solid geometrical design and there will be some holes or errors. This can be erased by using software which allows you to check the solidness and some programs where we need to create the solidness. There are a lot of analytical tools within the software. It is a good practice to make sure that as you are going along, the geometry that you are doing is valid geometry.

Calibrate the 3D Printer 

Calibrating a 3D printer is essential as it directly reflects the accuracy. If the calibration isn’t proper then it will result in weird shapes and sizes. Checking the calibration is important when you are printing with overhang objects as they are required to be accurate. The best way to calibrate your 3D Printer is by using a digital caliper so that designing complex objects doesn’t become problematic.

Choose the right wall thickness

Precision is important in 3D Printing and so is maintaining the thickness of the walls of the design. Choosing right thickness so that the object appears as defined is crucial. The famous Kristoffer Rønn-Andersen basically starts with drawing a rough sketch by hand or directly jumping to the software he adores the most user-friendly EasyPrint 3D.

According to Kristoffer, the biggest problem in 3D printing is optimizing 3D model for the printing material. Kristoffer Ronn-Anderson says “To me, it is crucial that these aspects are integrated into the early design of the pieces, otherwise they might not turn out well; either because the piece is not printable or because you have to make last-minute changes to the dimensions, which ruin the design.”

Break the objects into smaller chunks

An essential tip is to break down the complex objects into simpler ones and then join them. Designing complex objects can be troublesome and even printing them out is not that easy. It becomes pretty simple if you print out smaller parts separately and then bond them together.

Try multiple types of 3D printing Filaments

ABS and PLA were the only traditional filaments that were used for 3D printing in the earlier days. They are still the most common types of filaments used but you can experiment with numerous other filaments. Like nylon, wax, and others made from wood, brick, steel or copper. The type of filament to choose depends upon the object you want to design. Trying different types of filaments will give you exposure to various aspects of the 3D printing industry.You can know more about the filaments here.

Troubleshooting is looking at other aspects of the problem from different angles

The 3D Printing is not as simple as 2D printing, there can be problems arising from any nook and corner while you 3D print a design. The problems you can face with your 3D printer are innumerable. The first layer laid down by your 3D printer could be off the centre or of a different size than you suggested and the problem may not be connected to calibration of your print heads. Similarly, the filament you’re using may warp in a certain direction while cooling because you didn’t consider the chemistry aspect of the filament. You can find more solutions to all your troubleshooting problems here.

When there arises a troubleshooting problem have more patience and see the problem from different angles.

Use the various 3D Printing Forums

You can utilize the various 3D printing forums available in the market and take the most benefit of it as it is a community-based hobby, therefore, it’s a little complicated.Also, you would want to make your designs famous and tell the world how much good you are at it. Before you get to that stage though, you’ll need all the help and advice you can get. Even if you follow all the 3D printing tips here, you’ll still need these communities for more specific issues and purposes.

These tips and tricks can help you print the best designs and Geeetech 3D printers will enhance the printing process just as the way you want.

Credits: i.materialise.com,blog.inkjetwholesale.com.

Wednesday, January 10, 2018

You can now 3D Print these Exclusive Beauty Products right from home!

You may have heard the saying “People will stare. Make it worth their while”, and certainly, this is possible only due to Makeup which no lady can forget. Imagine if you can 3D print your own makeup matching it to the exact color you want. Like a peach orangish lipstick and rather than imagining about the color, you pick it up directly from the real world. This is now possible thanks to 3D printing. It’s clear to see that 3d printing may soon take over the Makeup industry and soon there will be no brands ruling the scene if all the Beauty products can be custom made. You don’t need a brand when you make beauty products yourself, not only printing out the makeup but also getting it directly painted on your face.

Here are all the Beauty products you can 3D print:

MINK

Grace Choi is a 30-year-old serial inventor who is taking on the $55 billion makeup industry by giving women the power to have what they want when they want it. Her printer connects to the app on your Desktop and uses a dropper tool to choose any color you want that prints onto pods of powder for your personal use. This innovative concept gives a great freedom to choose the colors as there are numerous colors available in nature while the big brands provide specific color choices. Here you don’t need to know how to code, you don’t need to understand 3D printing and you don’t need a boatload of money.

A Harvard Business School student Grace Choi first presented her new invention, Mink a 3D makeup printer at TechCrunch a massive technology conference in New York in 2014. She gave an onstage demonstration to all the audience showing how to pull a color from any image online. She used Adobe Photoshop and chose to copy the exact eyeshadow shade used in Michelle Phan tutorial and then print it normally like you know: File, print and so on directly on the cosmetic substrate using a similar printer to home offices one.The ink-jet printer went to work dyeing a colorless powder (it can also dye cream products) with an FDA-approved ink, and in less than 30 seconds she had the same eyeshadow from the video. She popped it into a makeup palette to make it look pretty, and voila— a makeup from a printer. The Mink makeup printer is currently on a preorder for $275.

We can just assume that if this works well all the retailers will see a decline in sales.Because of its affordable price point, convenient approach, and customizability, why would any makeup junkie ever walk into a busy department store again?

MODA

Stockholm, Sweden-based skincare company, Foreo, has just unveiled MODA, ‘the world’s first digital makeup artist. MODA will integrate the 3D printing with the real-time facial mapping software.All you need to do is choose from a library of dozens of pre-set looks of a simple mobile application.

Once chosen, the look can be previewed on an image of the users face, and if they like what they see, they simply place their face into the printer, it scans their facial geometries and then 3D prints the makeup onto their skin in just 30 seconds. They have developed a feature where you can browse and choose from the available libraries and select the best red carpet look. You can check whether the look suits your face or not.The ‘Uniquely You’ mode will suggest looks based on an individual’s facial geometries.

The makeup is applied layer by layer like first the primer then the foundation and the final 3D printed layer is the high-impact color for the cheeks, lips, and eyes. Thus the future of 3D printing is just making impossible things possible.

Personalized Lipstick Applicators

For a woman,  lipstick is very personal, right from choosing the right shade to choosing whether you want it to be matte or glossy etc.. every woman’s preference is unique. Also, every women’s mouth is of a different shape.Now there is also a need for a personal applicator rather than the normal way.The Cosmetic Science Research Group at London College of Fashion have proposed a more convenient way to apply lipstick instead of the standard swivel-up tube. With the help of 3D scanning and printing, they have developed a personal applicator that is convenient to apply.

To create the applicator, firstly you need to scan the lips then a profile with the data was created. The researchers then transfer the digital image model of the lips to Autodesk 3ds Max for modelling and optimization.To create the best mould two 3D printing techniques and 3 different materials were used than the filled the moulds with lipstick, put them in the fridge and removed them after 15 minutes. The only winner was PLA as it got perfectly detached from the lipstick.The most obvious benefit of having your own 3D lip scan is that you don’t need to find a mirror anymore since it’s perfectly shaped to your mouth.

3D Printed Lipsticks

Smashbox is allowing us to apply customized lipsticks. From a part of their BE LEGENDARY collection, the customer got to choose from 120 different shades.The Smashbox Custom 3D Printed Lipstick printed out on a compact case in any shape the consumer desired. You can choose any design that you want: hearts, emoji stars, signatures, Twitter handles, logos—you name it. The print gets transferred into a mirror compact, and you are ready to apply the lipstick using a brush or your fingers.

Credits: thezoereport.com,allure.com,forbes.com,techstyle.nyc,thebestbeautyblog.com,images.yourstory.com,

Monday, January 8, 2018

Now You Can 3D Print Your Thoughts Into Reality!!

All actions result from thoughts, so it is thoughts that matter.

What could be more beautiful than giving life to your thoughts and printing them out? Doesn’t that sound cool?

The traditional way of 3d printing is changing drastically and this vast industry has a lot to offer.Every day there is a new technique that is transforming this industry and similarly, there is too much of competition going on. The 3D printed thoughts are the new innovation and is gaining popularity recently.

So basically, 3D printing your thoughts is printing out anything that you think. It is all related to your thought process and these brainwaves are transmitted to the printer via sensors resulting into the design that you want.

The first ever object developed by  3D printing thoughts is the monster hand.This garish orange piece of plastic, small enough to hold in the palm of a hand, could pass for a missing limb of a toy Tyrannosaurus. It is appealing just for two reasons, firstly it’s a 3d printed  and secondly, it is printed via thoughts.

Thoughts

This all started at fanfare of Santiago Makerspace, a  technology design studio in the Chilean capital. This toy limb’s shape was designed according to the designer by connecting his brainwaves to the headset and then transferring the neurological signals to the PC. It was invented by George Laskowsky, Chief Technical Officer of Thinker Thing, the Chilean start-up developing the mind-controlled 3D printing system.

Why 3D printed thoughts?

The traditional 3D printers are helpful only to the people who know the software well and are a pro in the industry. A beginner will be confused and also rely on downloading the designs from the internet and then printing them out. Also, the design software is not easy to master, especially if you are four-years-old and haven’t yet learned to hold a pencil properly.

“What is the point of these printers if my son cannot design his own toy?” says Bryan Salt, CEO of Thinker Thing. “I realized that while there were a lot of people talking about the hardware of the printer no-one really seemed to be talking about how to actually use it.” In theory, 3D printers could help unleash our inner creativity, freeing us from the constraints of traditional manufacturing methods. However, in practice, those unwilling or unable to plough through the software instruction manual could be left downloading ready-made models designed by others.

That’s where the software Emotional Evolutionary Design (EED)  comes into play where the thoughts are presented in some real action. Their present plan is to focus on the Monster Dreamer Project, which will allow users to design their own fantastical creatures using the power of thought. When the children will sit in front of the computer they will see different body shapes in the form of bubbles. These will mutate randomly, with built-in rules preventing them becoming too abstract. The children’s reactions to the changes will be picked up by an Emotiv EPOC headset, a electroencephalography (EEG) device designed to pick up the electrical signals from brain cell interactions using fourteen sensors on the scalp. As different states of the brain as excitement or boredom specific patterns of brain activity will be generated.The favoured shapes will grow bigger on the screen, while the others shrink. The biggest shapes are combined to generate a body part, and the process is repeated for different body parts until the monster is complete. The final result should be a unique 3D model that is ready for printing as a solid object.

FUTURISTIC THOUGHTS

Second Nature

A design featured by emotional response is rather based on the thought of critiquing more than thinking to. make one from scratch. “One of the biggest bottlenecks right now with 3D printing is content,” says Professor Hod Lipson, director of the Creative Machines Lab at Cornell University, in Ithaca, New York State. “We have iPods with no music. We have machines that can make almost anything but we do not have a lot of things to make with them.”

Lipson’s Lab is also working to create 3D objects from the mind. Two Lipson’s students have developed a website     EndlessForms which mimics nature’s way of creating new designs in small steps. In the start of this process, there are 15 3dimensional shapes presented, from which the person needs to choose 2shapes. Then after combining these two shapes more 15 shapes will be available. Thus the proper combination of shapes can give you the desired design.

If you wanted to make a cat, you might click on one shape with the semblance of a muzzle and another with two pointed, ear-like triangles on top. The computer would then offer up a series of new shapes that more closely resemble the cat you have in mind, and so on until the model reaches the desired shape. This was taking a long time so the Lipson’s decided to use the Thinker Thing idea, but the issue with headsets is that when you tend to think about a particular state for a long time i.e. happiness it tends to result in sweat also if the headsets are of poor quality the wrong signals get transmitted. Some sceptics argue that consumer EEG devices are not really measuring thoughts at all.

With some of the limitations of consumer EEG technology in mind, Lipson and colleagues decided to monitor thoughts via the eyeballs. Eye tracking can identify the shapes that get the most attention, and this could be used to shape design processes. The snag is that without an EEG headset it is not possible to tell whether someone is looking at a shape because they find it strange or beautiful. Even so, the team’s research so far suggests that at the end of the process participants still feel they have managed to reach the desired design. There’s some way to go, but in the future, a combination of brain scanning and eye tracking may be preferred to the trusty old mouse when it comes to 3D object design.

Dream Maker

Imagine your dreams getting into reality just by the help of 3D printing. A Japanese scientist led by Yukiyasu Kamitani, of the ATR Computational Neuroscience Laboratories in Kyoto, revealed they had made significant steps towards automated dream decoding. Three people had there brain scanned by an MRI, they were awakened when EEG signals indicated they had reached an early phase of sleep associated with dreaming. Researchers asked them to describe their dreams.Kamitani’s group then chose 20 categories of objects and scenes based on the words that occurred most frequently in the descriptions. Then they listed out the categories on the basis of frequently imaging objects thus decoding the dreams.  Thus now we can even decode the dreams and print them and know about the future dreams this 3D printing is making impossible things possible.

So what are you guys waiting for? Get involved with the future techniques by buying a 3D printer by Geeetech right here and give life to your dreams.

Credits: bbc.com,designboom.com

Saturday, December 30, 2017

Here’s a Look Back at the best 3D Printers Offered to us by Geeetech in 2017!

We are going to enter the new year 2018 and are still not over the best things that happened in 2017. The 3D Printing industry has innovated a lot in 2017 and we are glad to inform you that it had been the best year with all the amazing things going on in the 3D Printing industry. The 3D Printer itself has undergone a revolution this year trying to make 3D Printing more and more easy for the passionate 3D Printing lovers.

Now a days 3D Printing is becoming more and more affordable also while developing it a specific use and the user is kept in mind. Even if you are a basic consumer with just the idea of 3D printing as a hobby in mind you are able to buy a 3D Printer today, that’s a biggest change 2017 has bought. If you feel like 3D printing would be a tempting endeavour for you then you can easily find yourself in a tight spot because of the different options and prices. You have to do some serious research because although it’s true that 3D printers are now cheaper than ever, that doesn’t mean you don’t have to treat it like a big investment. Before you go hunting for great deals, the first step is deciding what exactly do you need it for, what kind of printing do you intend to make. 3D printers are designed with a certain user in mind and can sometimes address some very specific needs so you’ve got to sit back and think a bit about this aspect carefully before making a decision.

Let’s take a look at how the 3D  printers have evolved in 2017 by Geeetech and are the best printers that are available in the market.

Geeetech E180 Mini 3D printer

A cost-effective 3D Printer designed to be reliable, compact and multifunctional with the aim to make 3D Printing accessible to every age group both beginners and pros. The black colour gives the printer an elegant and classy look. It gives an extraordinary printing experience and has high travelling speed. 3D printing solution is available due to Wi-Fi connectivity via which they could make full use of free 3D models, direct real-time control over your printer and share fantastic designs and prints on EasyPrint 3D App. This App is responsive and user-friendly. Besides, E180 comes with a simple and intuitive full-colour touchscreen which greatly streamlines the whole workflow. Even children can print easily using the Geeetech E180 Mini 3D printer, it allows the children to parts separately and then join them together. You can upgrade the firmware of your printer by the use of the 3D print app. As it is compact and lightweight with strong packaging which ensures the product to be delivered to your place safe and sound and in its best condition.

You can get this printer  @ amazon at a convenient price of $298.00.

 Geeetech wood Duplicator 5 DIY dual extruder 3D Printer

A DIY dual extruder 3D printer by Geeetech is made to be the best companion for you to embark on the fascinating 3D printing journey. The DIY designs that you make on your computer and then print them out give you the ultimate joy when you see the whole print coming out. Even if it looks gentle its excellent features make it outstanding among the competitor products. The dual extruder allows you to print a single object in two different colours.Further simplified and stiffened parts make it a reality to assembly and adjust the whole frame fast and easily. Building the printer step by step will give you an in-depth knowledge of 3D printers. Time-saving and full of the sense of accomplishment. It has a LCD 2004 controller, with which detailed printing status could be clearly presented on the screen. Besides, it is convenient to select 3D models and adjust printing speed, temperature and other parameters via the simple operation flow.

Get this amazing printer at only $289.00 on amazon.com.

Geeetech A30 3D Printer – Bigger is Better

Get introduced to the biggest printer ever which can print life-sized models at the best speed.Apart from its praiseworthy specifications, The Geeetech A30 is equipped with a sturdy frame, strong and wear-resistant which greatly improves the stability of the machine during printing. Besides this, the new printer comes almost fully assembled and all you need do is fix a few screws.

Coming to its appearance, the A30 is embellished with blue strips, making it look solemn and vigorous, an ideal representation of its quality printing performance and good craftsmanship. You can self-assemble the kit and it’s pretty easy and convenient.

The best features include not caring about restarting the whole printing process if the electricity goes you can resume the printing where you had left. It is convenient to use EasyPrint 3D App to control A30. It is a cloud-based social App packed with remote control over your 3D printer, a cloud gallery of free 3D models and a 3D printing community

Get this 3D Printer as a new year’s gift for your loved ones @ $486.00  only here.

Geeetech GiantArm D200 Large volume Cloud-based FDM 3D printer

Enjoy the freedom of printing via your smartphone using the EasyPrint 3D app where you can control all the necessary functionalities required for printing. Thus whenever you are out for a short meeting or party yet you know what your 3D printer is about to do at home. The laser-cut steel frame gives GiantArm D200 a  subtle and attractive look.It is simple to use because of the touchscreen present on the printer itself. the new interface is quite interactive and you can understand it easily. Resuming the printing from where it had stopped is the next better feature of GiantArm D200. The EasyPrint 3D App gives a notification whenever the filament is about to get over, this feature helps you to control the filament usage from your cell phone, ain’t this cool!!

The GiantArm D200 supports various filaments including PLA, flexible PLA, HIPS, ABS etc. thus giving you a wide range of choices for your varied printing needs.

Buy this amazing printer @ amazon at a convenient price of $899.00.

2017 had been great for GEEETECH and 2018 will be the best. Next year we promise to deliver more astounding printers with better quality and more unbelievable features.