Showing posts with label problem solving. Show all posts

Wednesday, March 21, 2018

The “Plastic Smoothie”- Now You Can Utilize The Leftover Filament…

3D Printing is becoming more sensitive to plastic pollution that is created while printing the objects.

The biggest environmental issue that comes along with 3D Printing is the leftover plastic filament or spool after printing your  3D object.

Throwing away the filament in the trash is the only option you are left with as there are broken pieces of it and joining them is a costly process as there comes a  filament fuser or joiner which many enthusiasts have already experimented making. The below video explains how with the help of easy tools you can join the filaments.


There are many methods to recycle the filament and use it the next time, but the method shown in this article is more interesting and leads you to better 3D objects.

Designer Agustin Flowalistik shows us how to recycle 3D printing waste by creating a Plastic Smoothie, which can 0be used with a laser cutter to create vibrant objects. 
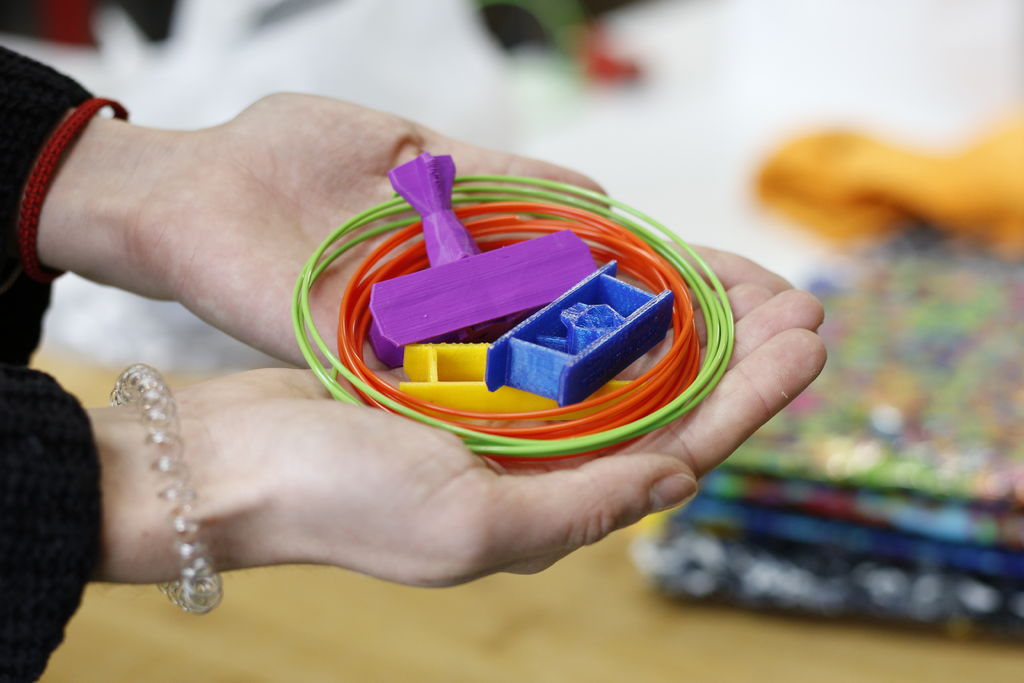
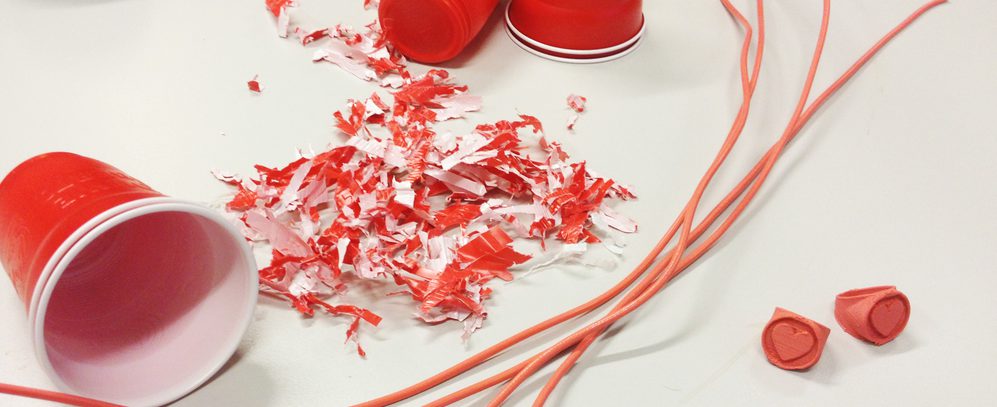
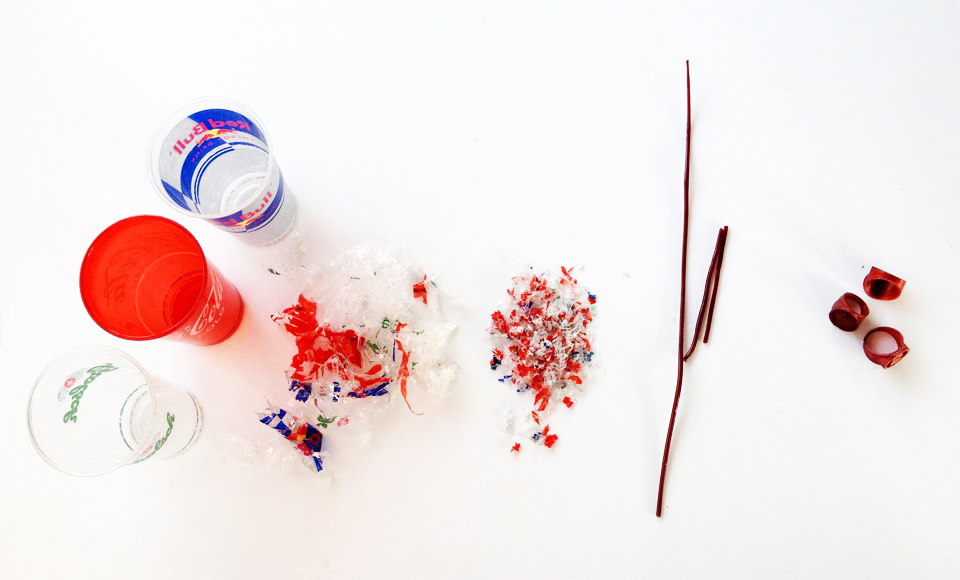
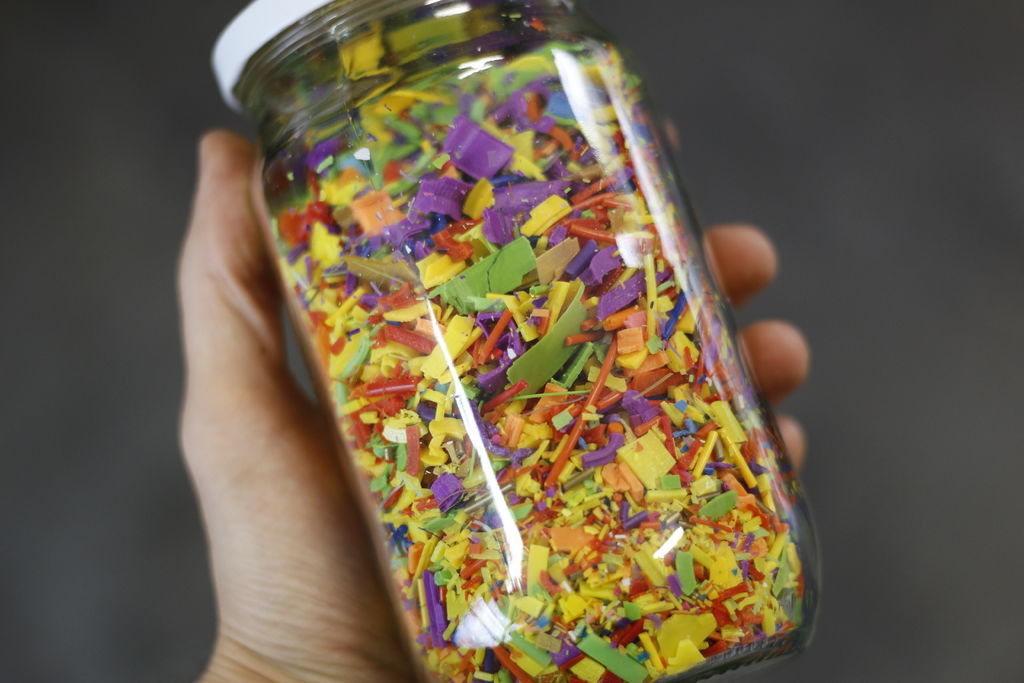
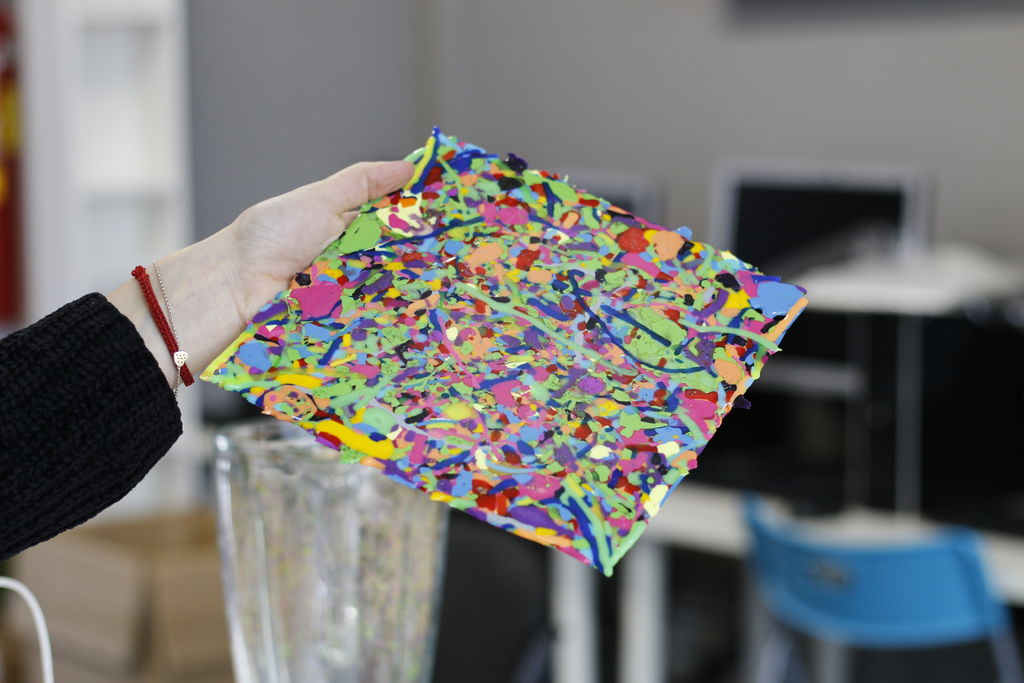
Agustin Flowalistik came up with an easy and cheap way to recycle failed designs and leftover filaments by making a concoct of a Plastic Smoothie. He uses the kitchen appliances and laser cutting technology you can create new objects with the endless array of color. After collecting all the leftover filament and making it into a finely shredded plastic scrap, melt the colorful mess of plastic in an oven.With this freshly baked sheet of recycled PLA, you can get creative using a laser cutter and a bit of vibrant imagination.

We give a brief overview of the “Plastic Smoothie” project below so you can get what the project is about. He shared it on Instructables and was developed with the help of non-profit TecnoLab La Rueca Asociacion  to increase the quality of life and well-being of disadvantaged communities. You can know more about how to effectively use plastic by controlling pollution here- Worry Not!! You Can Now Reuse Waste Plastic For Your 3D Prints.

Philosophy of the project

Picture of Laser Cutting

Affordable:  Electrical appliances are used for most of the projects as it is cheaper to use

Accessible: the machines used should be easily available in online stores.

Open: It’s an open source project and anyone can be a part of it.
What do you need?

The first thing that you need is an abundance of PLA filament scraps and failed prints.Also, an access to a laser cutter that you will find on Fablab or a local makerspace. If you want to know more about laser printing read here 3D Laser Printing is different from what you think.

There are other supplies needed for starting the plastic smoothie project, this is the checklist:

Flowalistik shares some tips to make this project affordable, like using an old blender if you have any as if you start using it to shred plastic you won’t use it for making juice.Before using failed prints make sure to break them before blending them.You won’t want your blender to get damaged. He uses PLA for the project as ABS contains impurities.

Putting it all Together
The first step is gathering and blending your PLA filament, you can take the opportunity to decide the colors and textures you want to create. After the recycled plastic is shredded up, take an over. Flowalistik uses oven paper on the base of the tray, bending the corners to avoid any molten plastic from spilling oven tray and start baking.
After experimenting the maker found that the best results by melting the small plastic bits at 190-200 C for 20 – 25 minutes. After the plastic straps are melted, you need to quickly remove them and flatten them out on the wooden panels. Perform the pressing procedure quickly as the melted plastic cools down. Keep the oven paper on the plastic and add as much weight as you can onto the wood panels, and you’ll have a perfect sheet of recycled PLA.

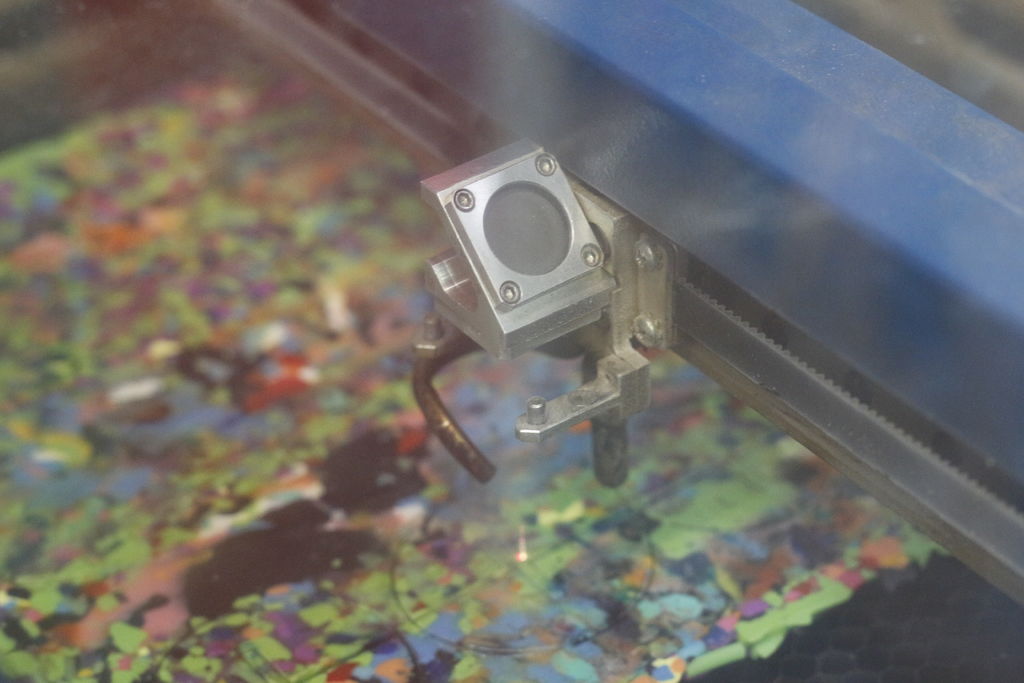
Finally, Flowalistik uses an Epilog Laser Mini 18 40W laser cutter to cut the 3mm plastic panels. You can use the same settings as you would for a 3mm sheet of acrylic. The designer adds that he had to increase the power of the laser in order to make the engraving more apparent.

You can learn more about the Plastic Smoothie project and the laser cutting process on Flowalistik’s Instructables post. If you want to continue supporting the designer and his intriguing projects, head on over to his Patreon page.

Plastic pollution is what we are dealing with every day and thus we have to take every possible step to stop it. So do join the “Plastic Smoothie” project and get rid of all the plastic extras and failed prints.

Geeetech enlightens you on such projects which will help you save the environment.

Credits: instructables.com,all3dp.com

Friday, March 16, 2018

Troubleshooting: What to do when your supports fall apart?

As you continue to model and 3D print various objects, you’ll find that many of them will need support structures to hold the design up. And the more complex the object, the more crucial it is to design a good support structure.

However, on some occasions, you may find your support fail to do its job resulting in a failed or messy print.

The 3D Printing Problem-

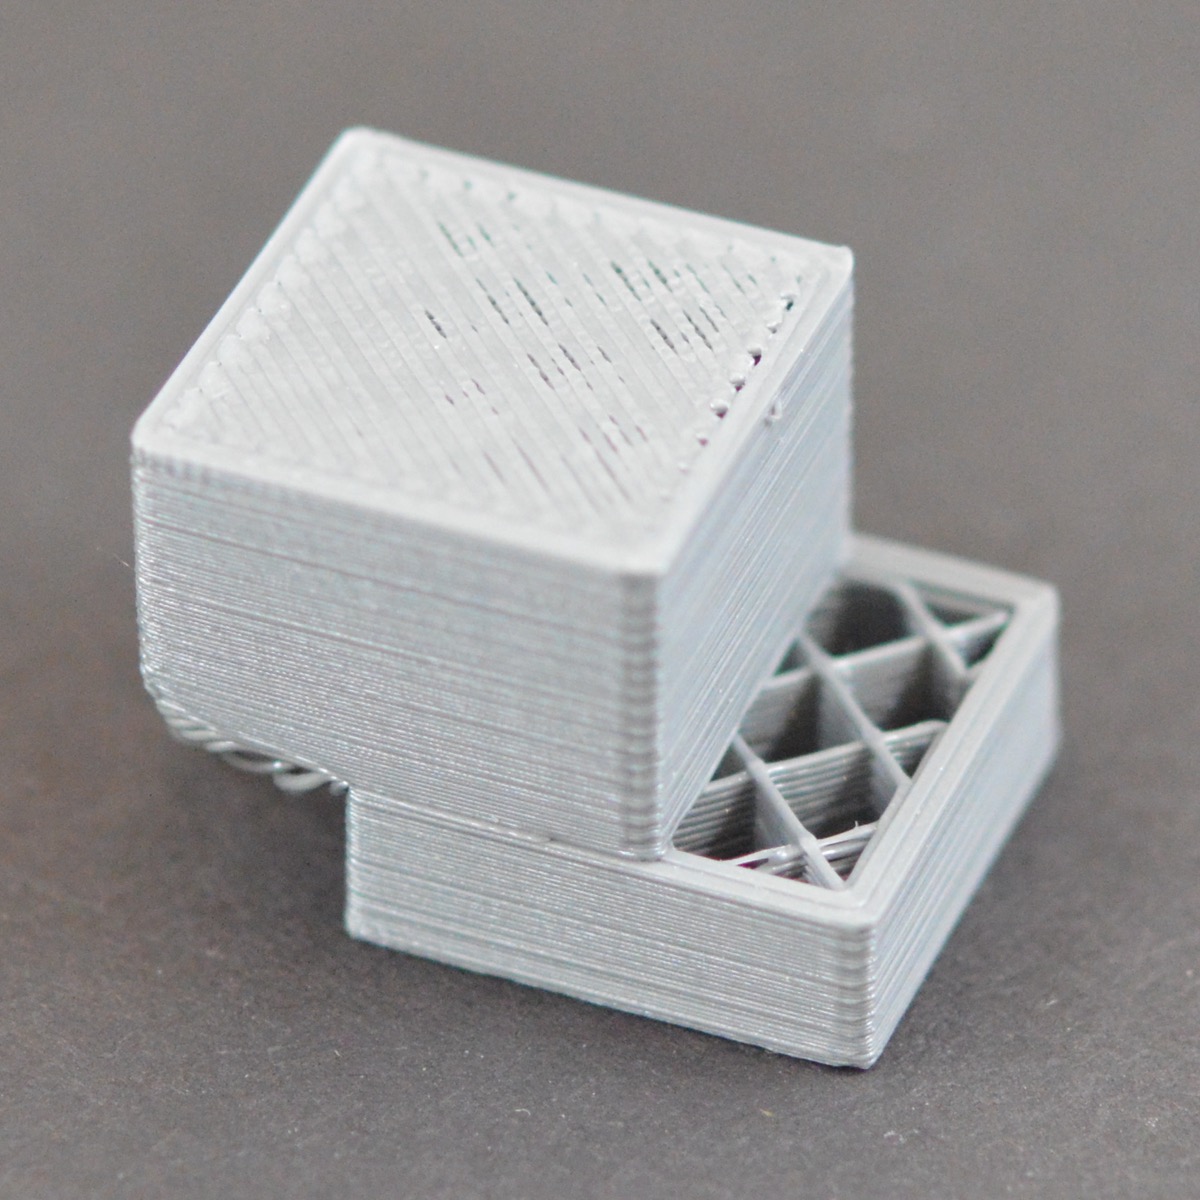
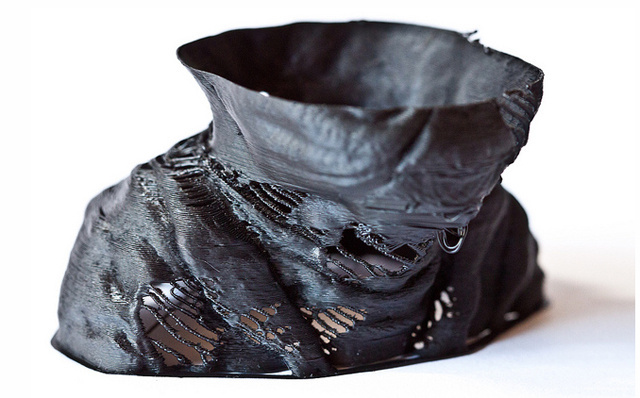
While printing your object, you’ll realize that your support doesn’t look as stable as it should. There may be gaps and it may even fall apart or crack in some places. Weak supports are also stringy and overall your print just looks like a hot mess(not in a nice way!)

Slicer Settings

Most of the time we tend to stick to the default slicer settings provided by the slicer applications. This may work for standard print jobs, but while printing more complex objects it is important to change these settings. For objects like supports, your default slicer setting will not always work. The more complex the object and overhangs, the more attention you have to pay to the slicer settings.

Type of support used

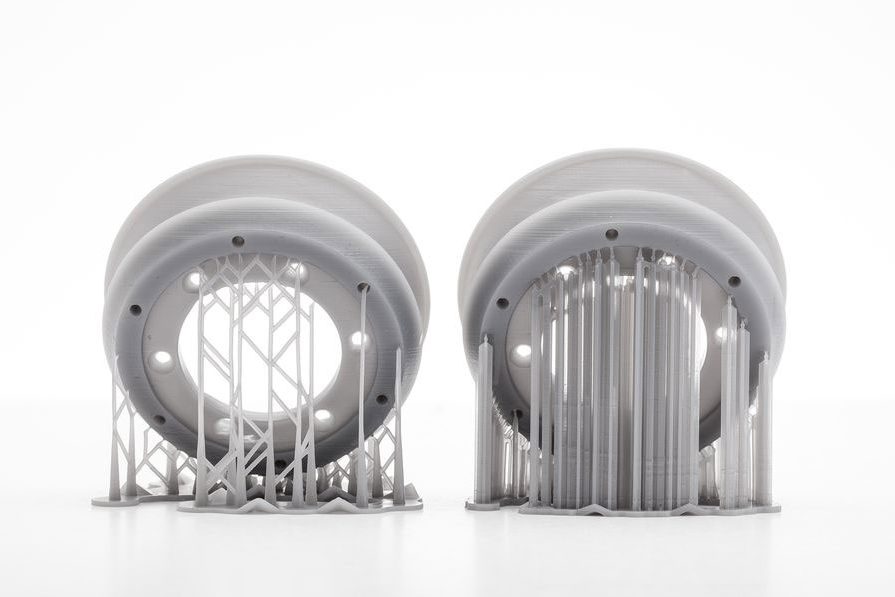
Thinner support structures are easier to remove but are not always strong enough and can break apart during your print process. On the other hand, stronger supports are denser but are much harder to pry off. At the same time, thinner supports may move easily if there are any sudden movements or vibrations from the 3D printer itself.

Many a time, tall and intricate prints will have delicate and thin supports so that they come off clean without ruining the print. Though this sounds good in theory, this kind of support doesn’t offer much stability to tall prints. Triangular and grid-shaped supports work better as they add additional structure under large overhangs.

Problem with the filament

Filaments that are old or cheap are weaker and tend to break more easily which is another reason why your supports don’t hold up. Old and expired filaments won’t bond easily to each other and the structure can tend to have more gaps and cracks.

Lastly, don’t forget to keep an eye on your printer. Many times, there are a few loose screws and nuts that can create vibrations during the print and if your support structures are not strong enough they will fall apart.

How to fix it?

Modify your support structures

Rather than choosing thin and delicate supports, opt for grid or block shaped supports that can easily take the weight of overhangs without breaking down. You can choose triangular supports for objects that do not have sufficient adhesion to the print bed starting out with a strong base.

Another cool thing to do is using water-soluble support material like PVA glue. In this way, you can increase the support density and make block shaped supports without having to worry about them coming off.

Ensure sufficient adhesion

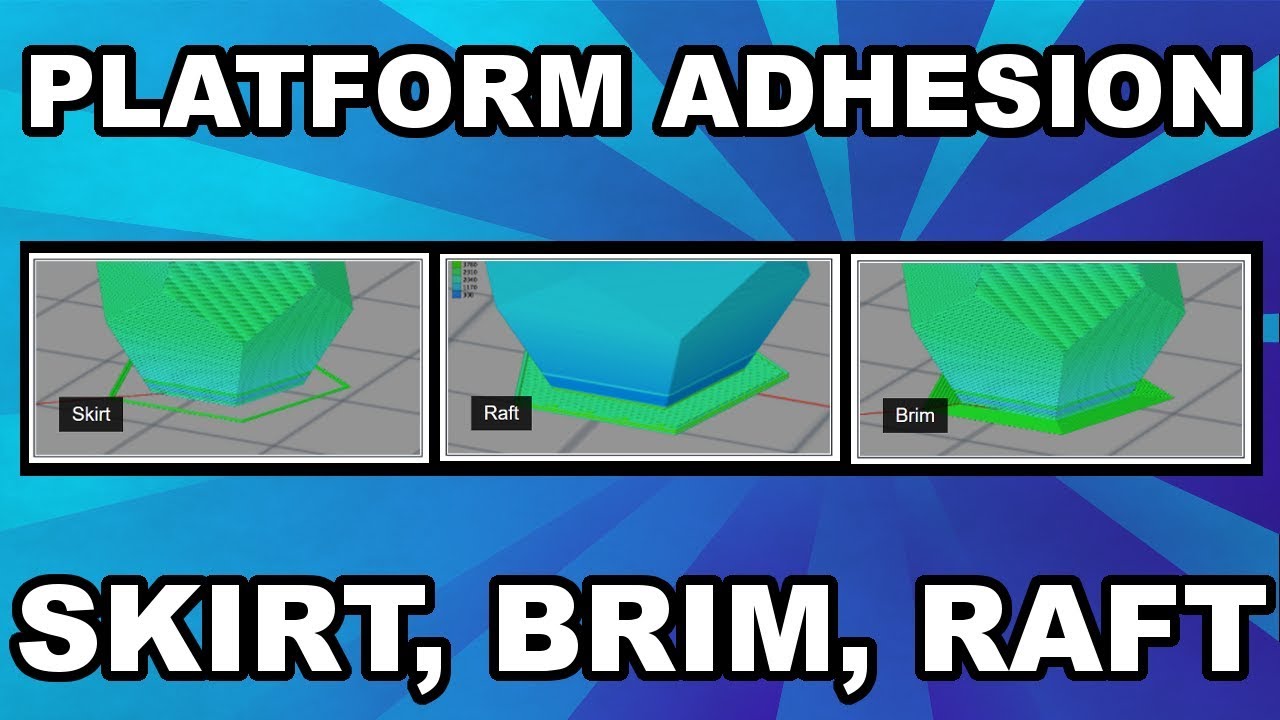
For a strong foundation, your 3D print must stick to the print bed. To increase this adhesion you can use the help of brims and rafts. Once your support has bonded to the print platform, it reduces the chances of it breaking or slipping off.

Use another filament

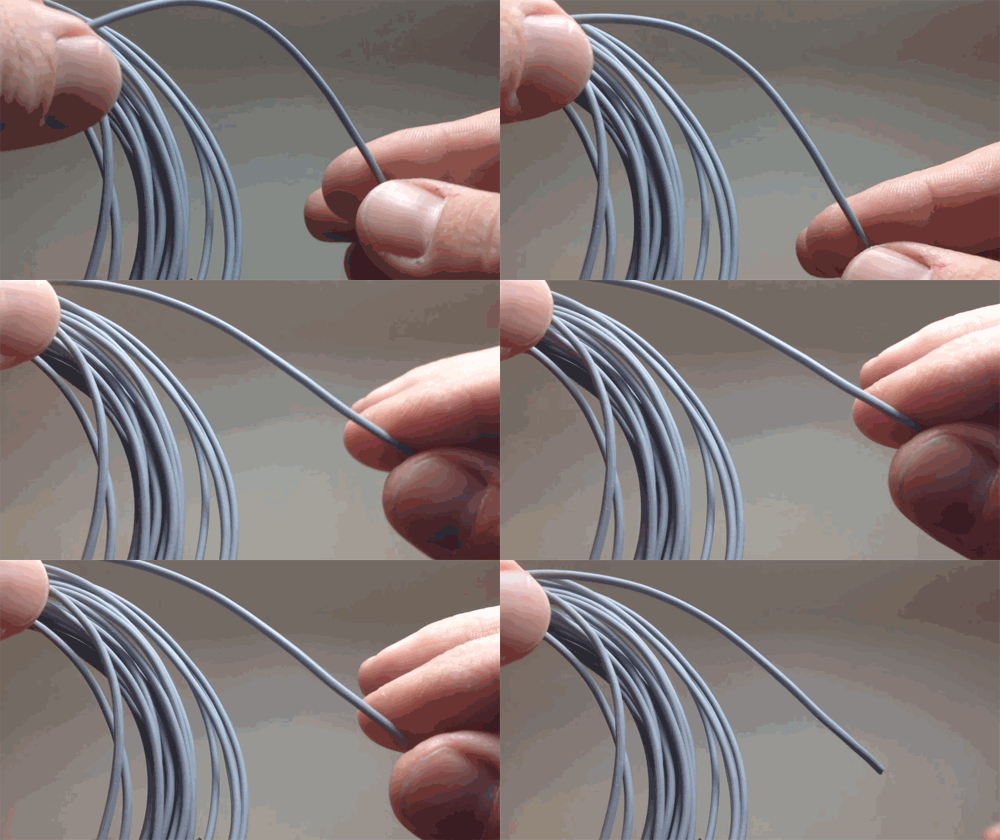
If your filament is old or absorbs too much moisture it can cause problems during your print job. You can check out our easy guide to store your filaments correctly and prevent common problems like snapping and stripping. And if the problem is indeed with the filament then change the filament and run a test print to see if there are improvements in the supports. Alternately, avoiding buying cheap which will tend to break more easily.

Increase the support density

Supports that are thin will be more prone to breaking and falling apart. So to make your supports stronger, go into the slicer settings and increase the support density.  This will make your support sturdy but on the other hand, it will be tougher to remove them from your 3D print.

Tighten the grub screws

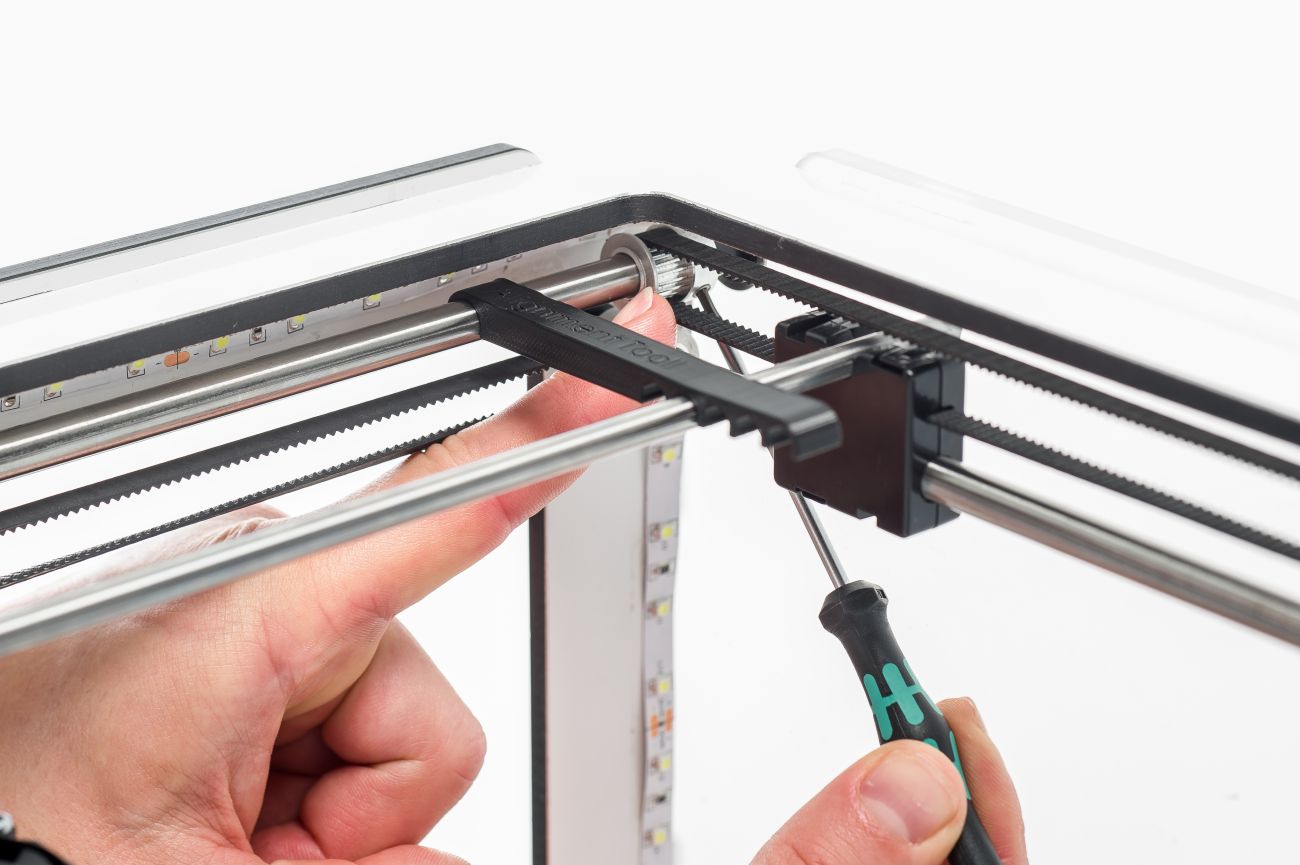
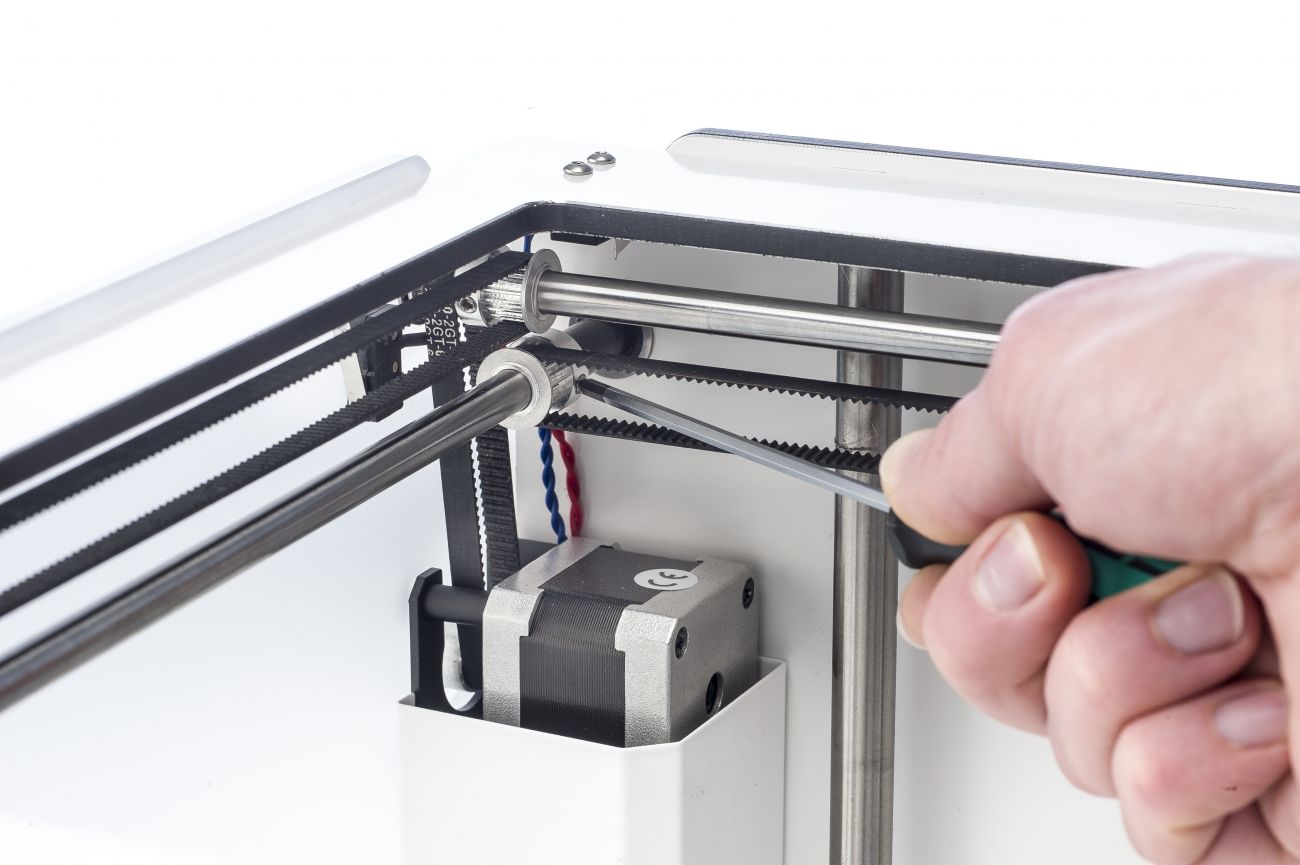
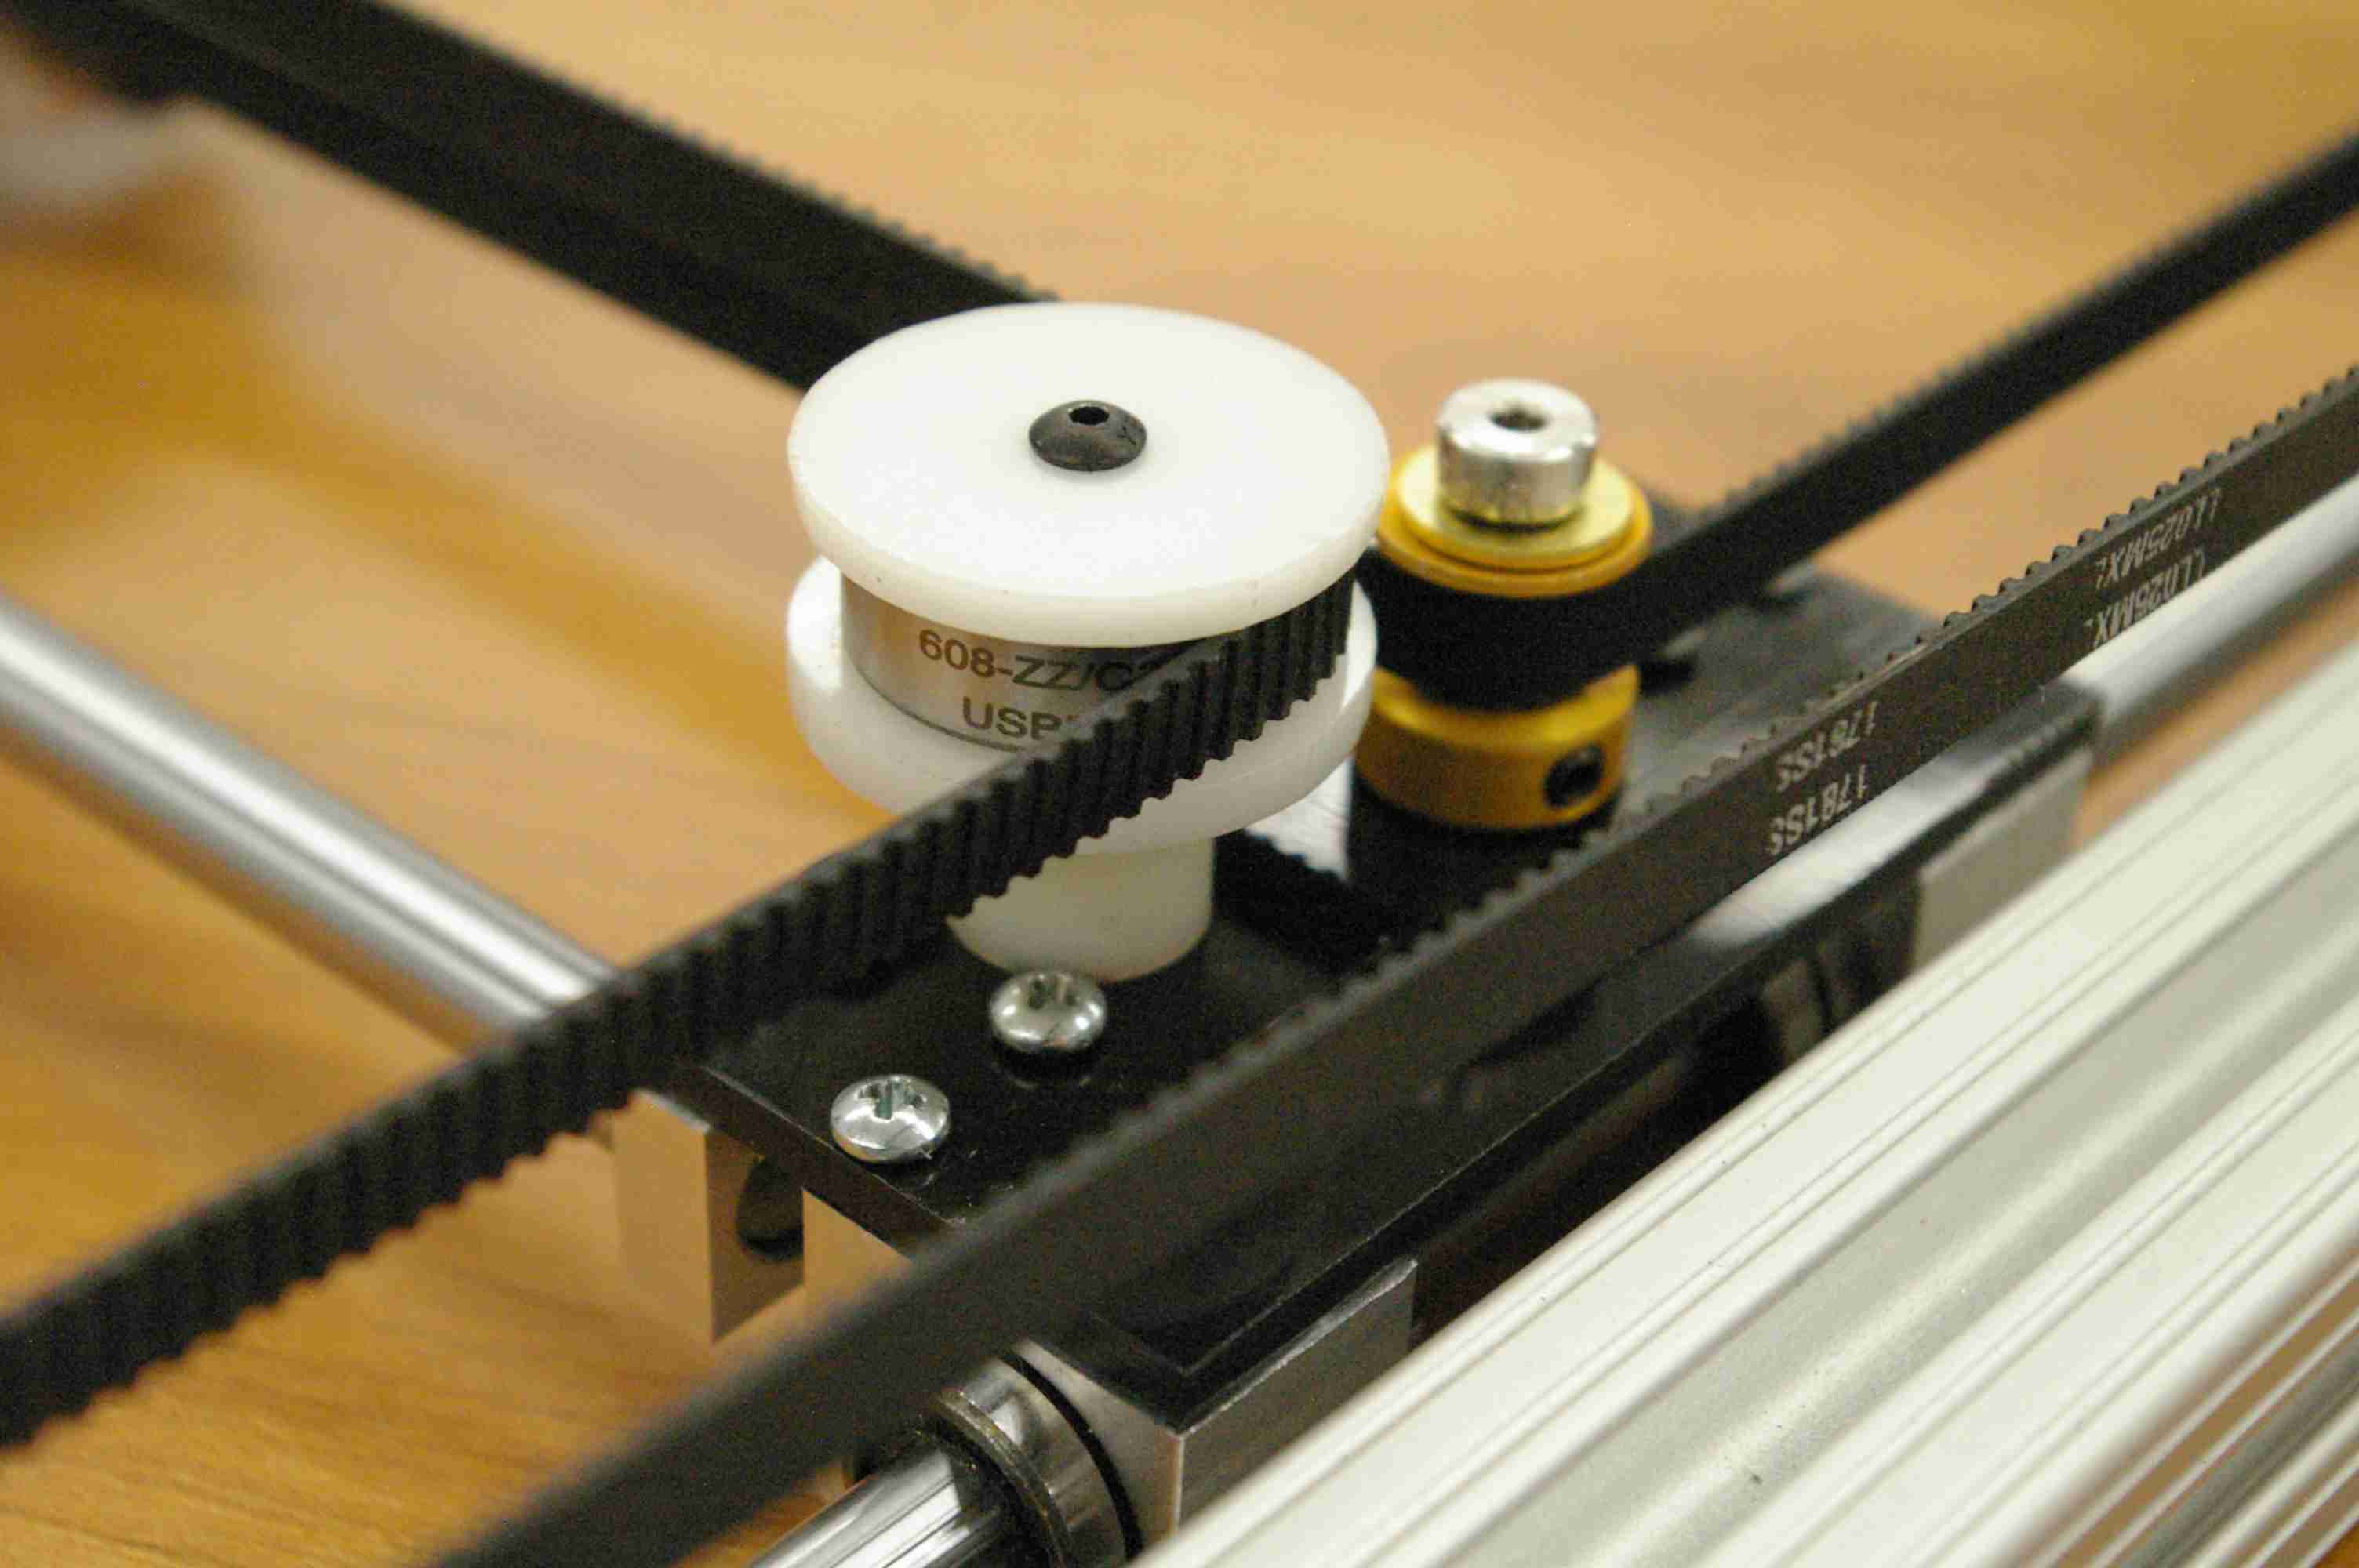
If the pulleys are not secured there will be many shifts and vibrations. This can shake the print and cause the supports and other parts of the print to wobble. To fix this problem, use an Allen key and tighten all the grub screws.

Credits: ultimaker.com, formloabs.com

Thursday, March 1, 2018

Troubleshooting: Here are some easy ways you can prevent layer shifts

The 3D Printing Problem–

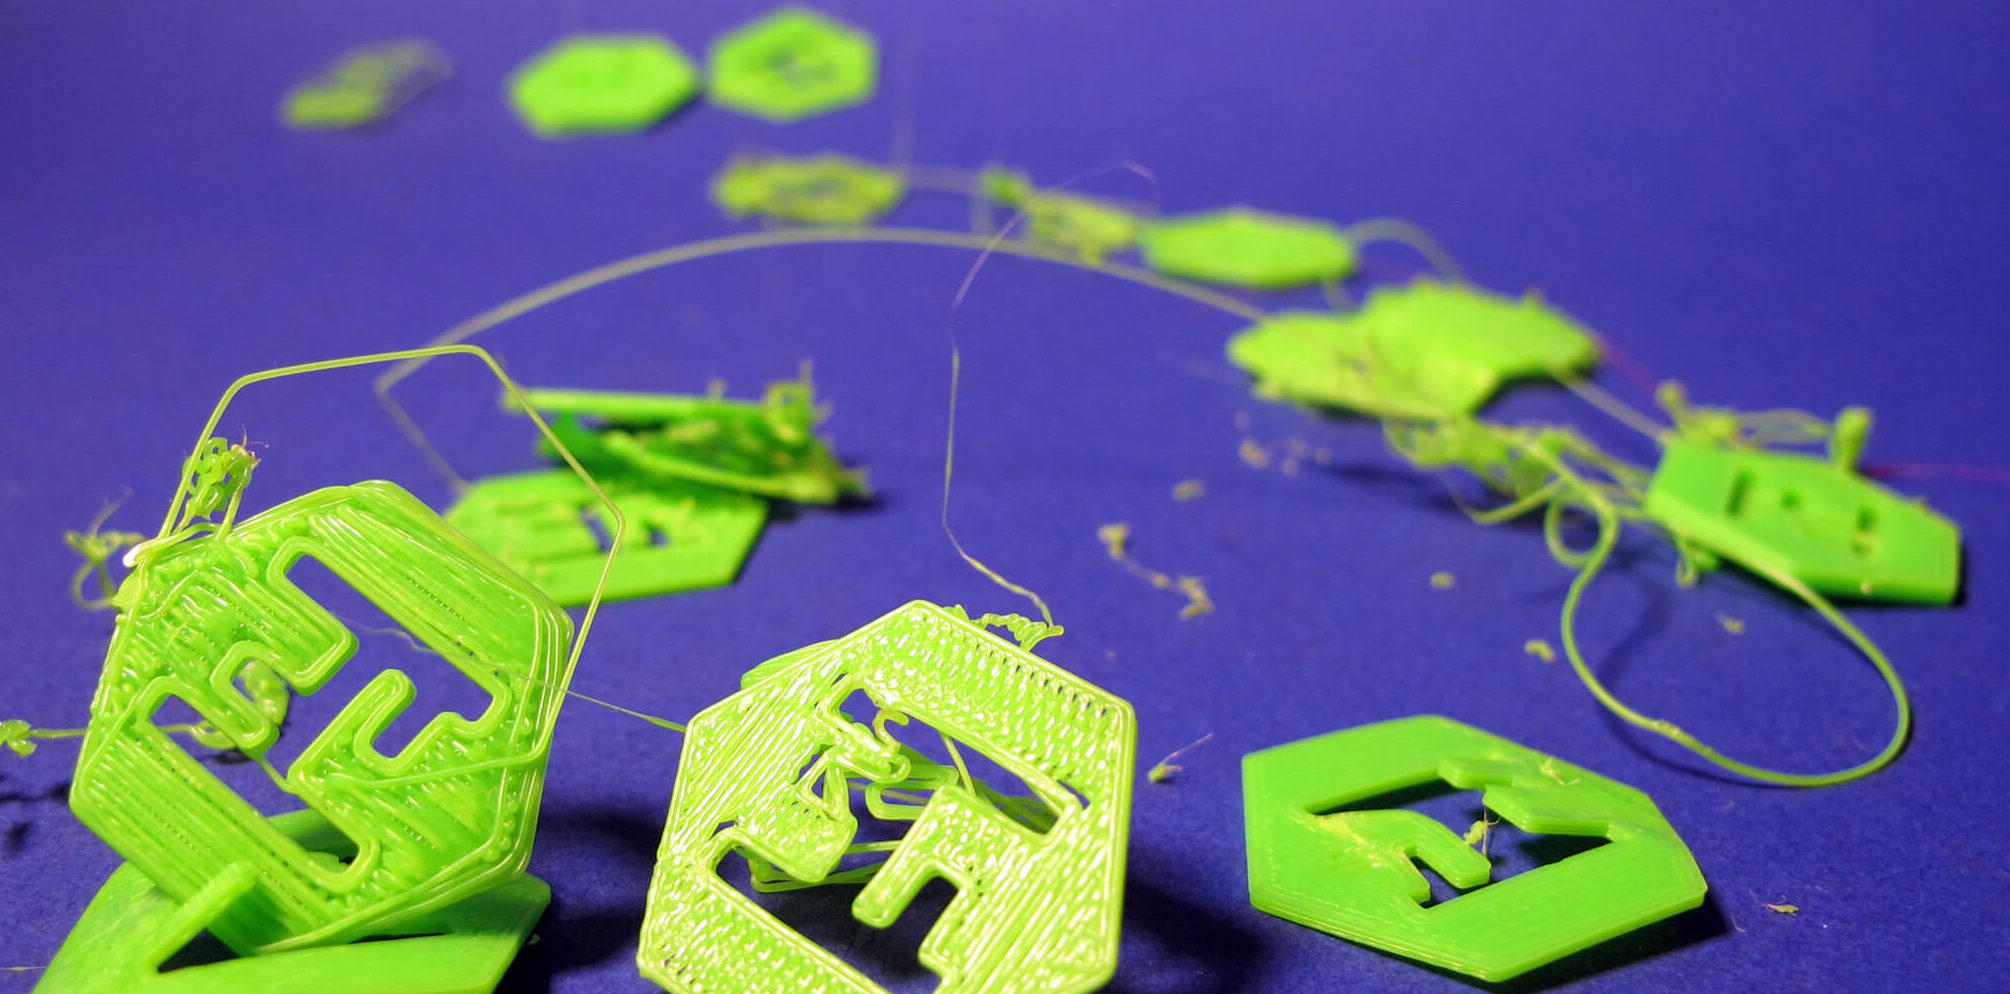
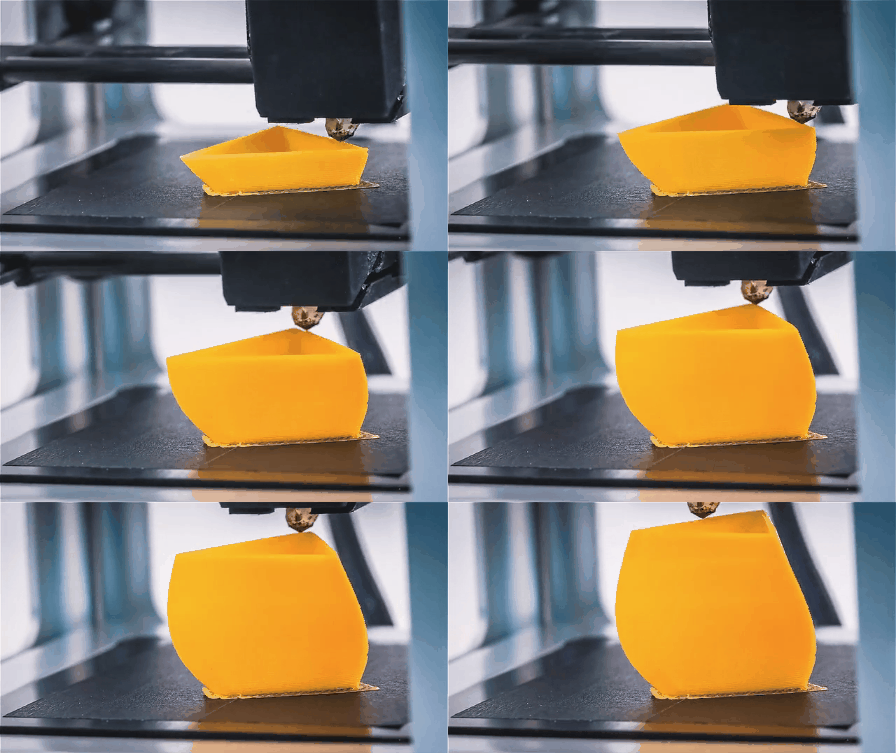
Your print may start out looking fine but as it progresses, you notice a shift in between the layers. It looks similar to a step and this effect is known as a layer shift. It may be subtle or could end up ruining your print entirely!

Why does it happen?

There are many different reasons that contribute to shifting in the layers so its hard to pinpoint it to just one. The most common, however, are the slipping of pulleys and loose grub screws but it could also be something as simple as nudging your printer and causing a disturbance in the print job.

How to fix it?

Fix the Print Bed firmly in place 

Check the print bed to see if there are any clips or screws that have become loose. Since printers have detachable print beds it’s a common problem that occurs but also one that can be fixed easily with the help of pliers.

Similarly, ensure that the printer is on a stable and secure base as well as kept in an area where it is not prone to being knocked or hit. You’ll notice that even a small disturbance to the printer during your print job can cause shifting or other layer issues.

Fix the grub screws

When there are sudden shifts in layers, it’s most probably due to one or more pulleys not secured properly to the axis/axes. You can check this when your layers start to shift and notice the pulleys moving and consequently tighten the respective grub screws. Use a small Allen to tighten them.

Check the belts

Another important thing to check is the tension of the belts. You can adjust the belt position to ensure the tension is the same between all the belts. However, if the problem persists and if you’ve had your printer for a while then you should probably change the belts.

Fix stiff rods by oiling them

Rods can get stiff and encounter resistance over time which affects the print and causes shifts in the layers. Ideally, the print head should move around easily without resistance. you can perform a simple check to test this.

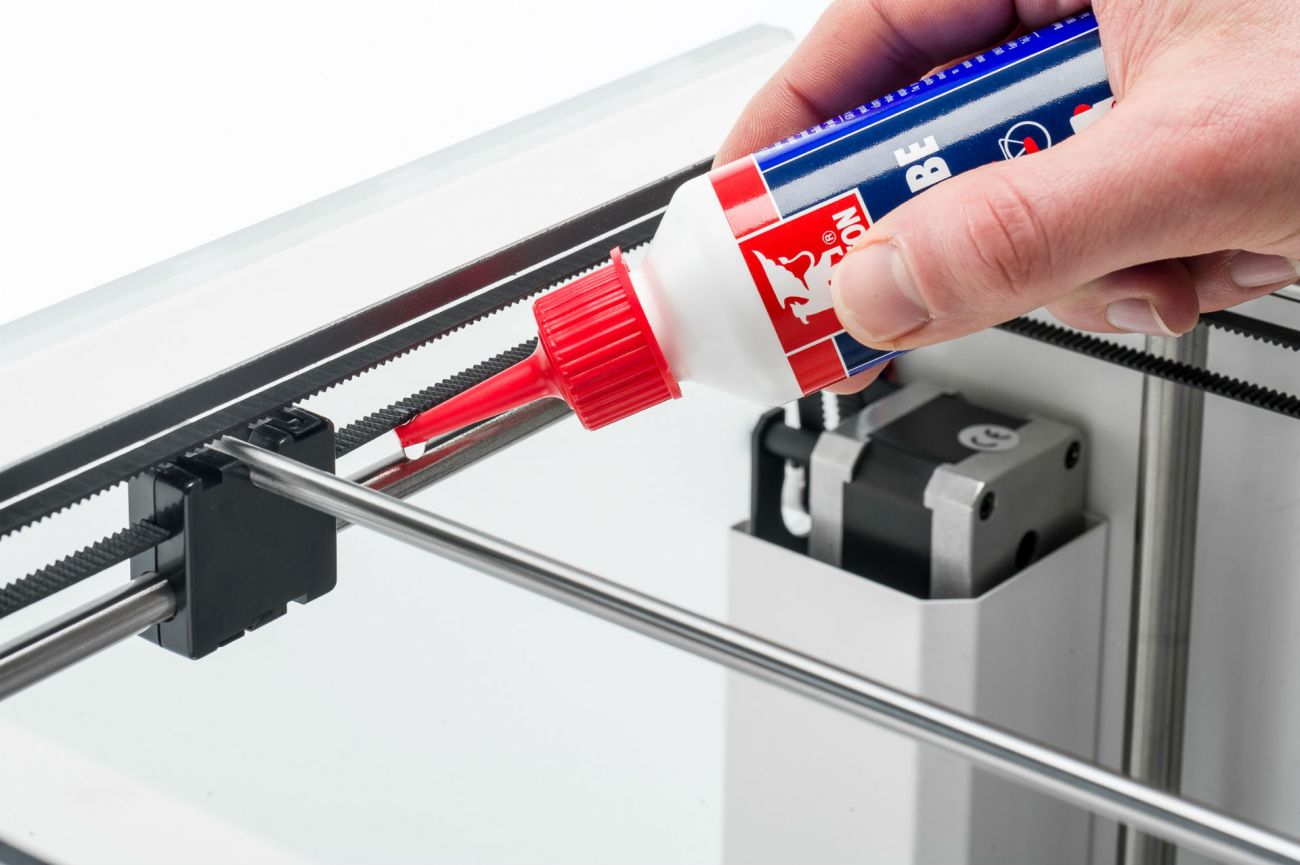
Turn off the power and check the head by moving it manually in both X and Y direction. If the head moves around stiffly then its time to oil the rods with some light machine oil.

Check the alignment of the rods

Misalignment in rods is another reason that contributes to stiffness. Again perform a check by moving the head to the left/right side and consequently to the front/back of the printer. The distance between the sliding blocks and the pulleys should be equal on both sides. If the axes aren’t square you can fix this by loosening the screws on the two pulleys of one rod, adjust the sliding block and then re-tighten the screws.

Apart from this, check if your rods are bent by removing them and rolling them on a flat surface. You’ll instantly realize if they’re deformed or bent and can replace them.

Check for warped layers

Warping takes place when there is uneven cooling between the layers which results in the edges rising up. If this happens, the print can release from the bed and this makes is much easier for the layers to shift. You can combat warping by adjusting the speed of the cooling fans but if the problem continues, check out our Troubleshooting Guide To Fix Warping.

Decrease the print speed

Many a time, the reason could simply be that your printer is printing too fast. A clicking sound heard during the print job indicates this and you should first check to see if the filament is slipping and if not, then proceed to reduce the print speed by going into your slicer settings.

Credits: rosso3d.com, doubltjumpelectric.com, ultimaker.com, 3dprinting.stackexchange.com
Monday, February 19, 2018

Troubleshooting: No more gaps and holes. Here’s how you can fix pillowing!

The 3D Printing Problem-

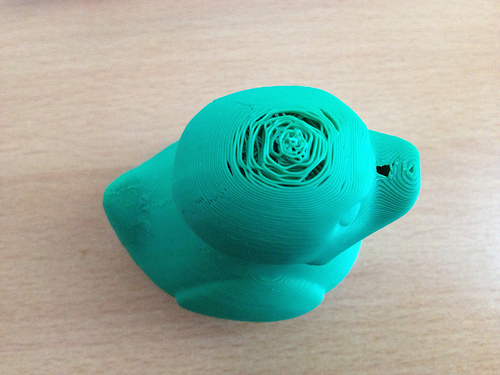
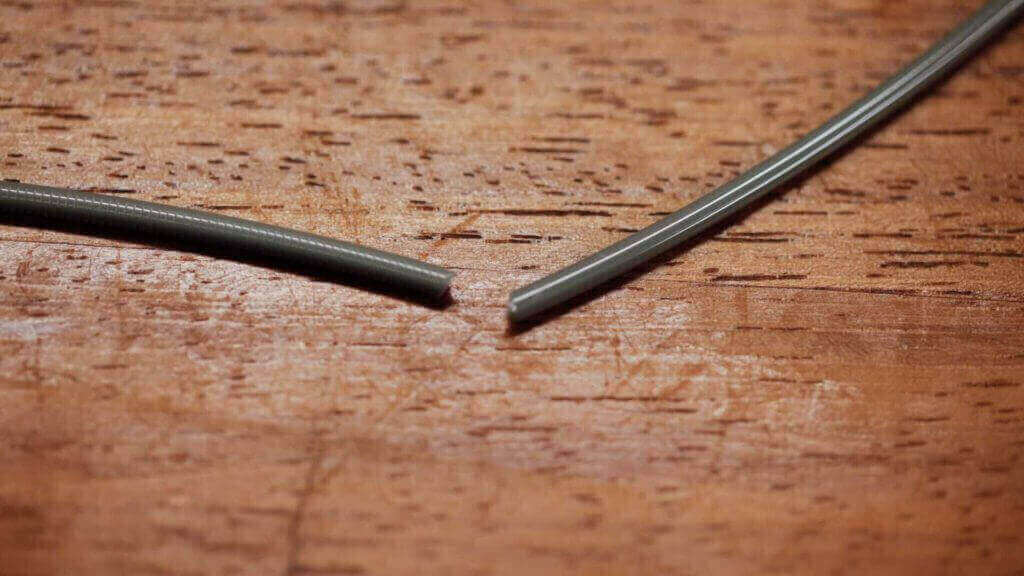
Your 3d print may have seemed successful while printing it but once its finished you notice gaps and holes in the outer layers. This is known as pillowing and though it is frustrating after spending hours on a print, there are some easy ways to prevent it from happening again!
Why does it happen?

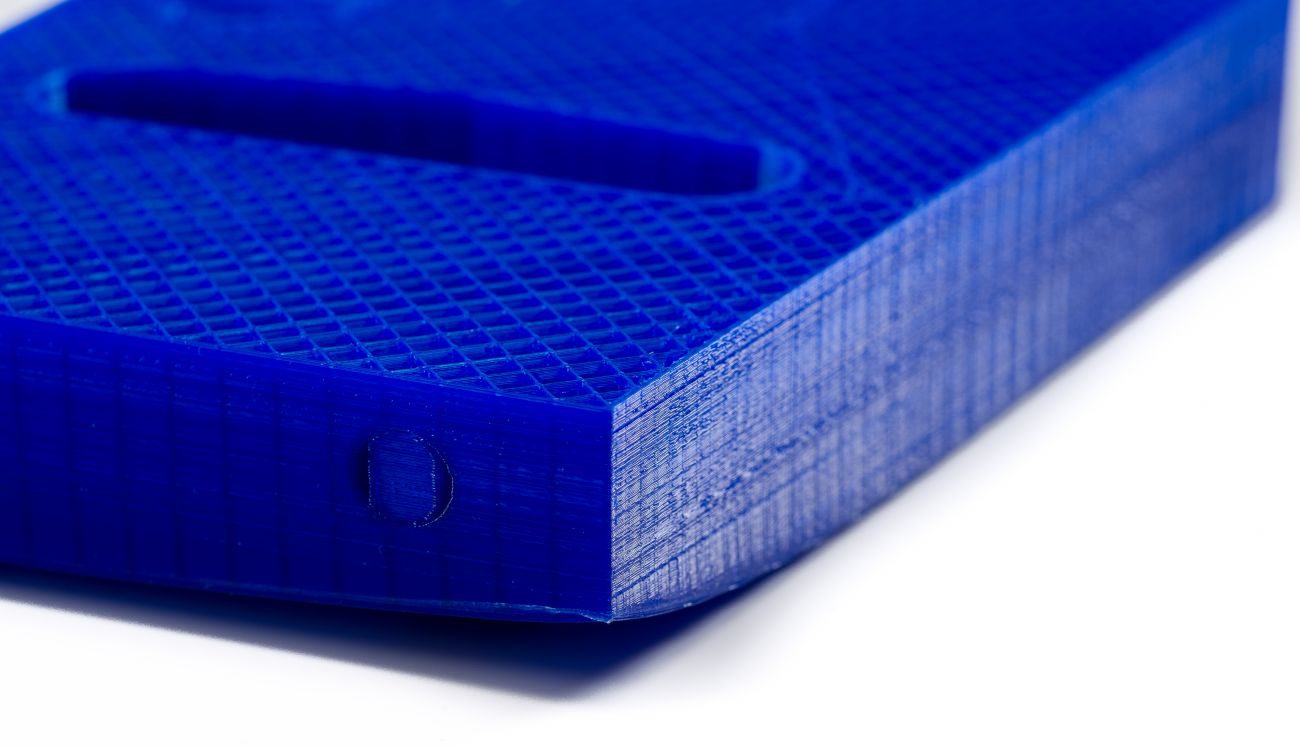
There are a number of reasons why these gaps and holes form on the 3d print. If the top layer itself isn’t thick enough and then pillowing is more common as well as if there isn’t sufficient cooling of layers.

Luckily with a few adjustments and changes in your print settings, you can avoid it from occurring again.

How To Fix It:

1. Use a cooling fan

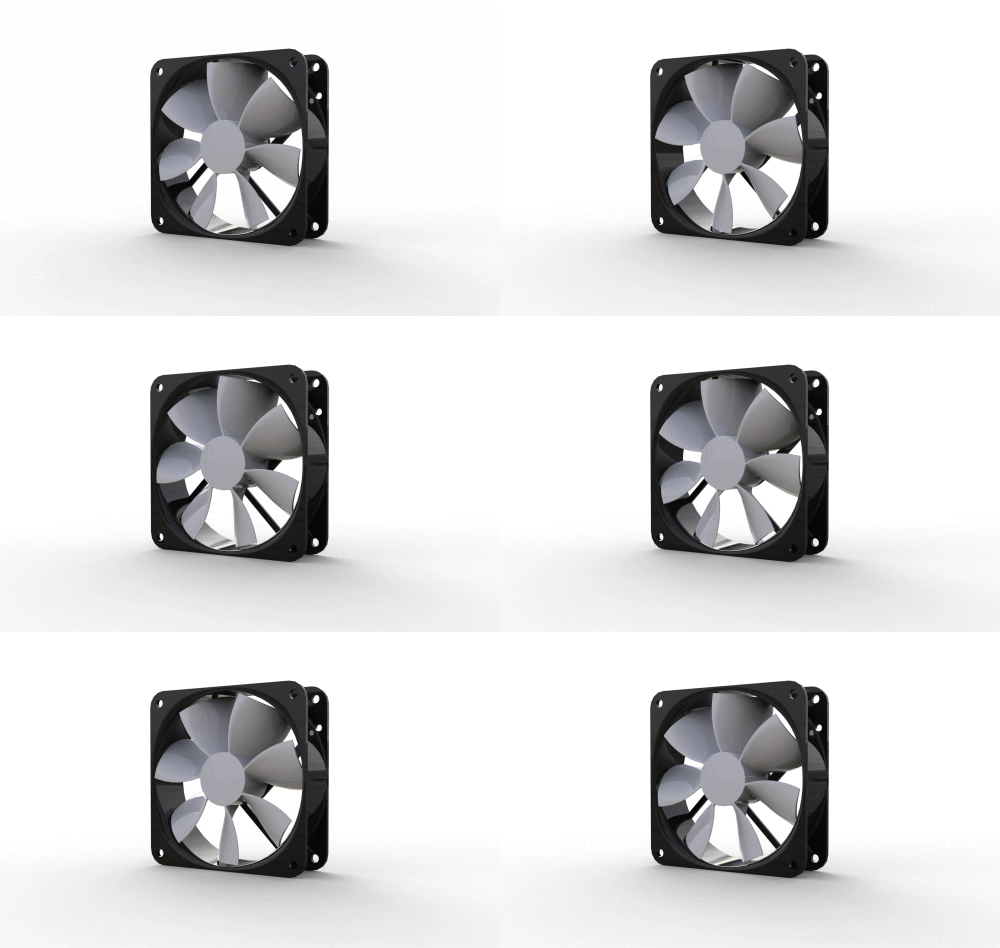
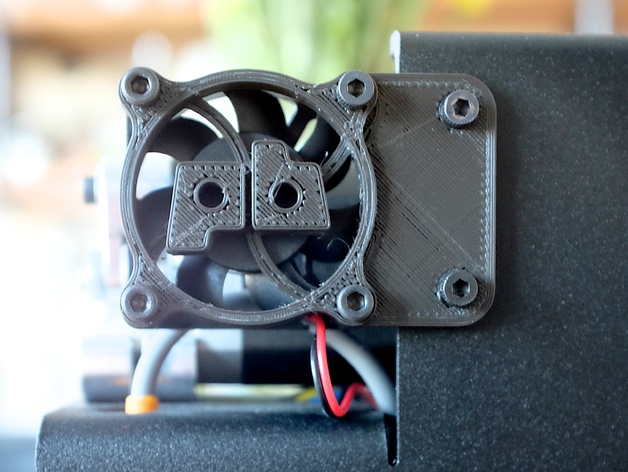
You may have the optimal settings but if your layers don’t cool properly it could contribute to pillowing. Use a fan with settings set to low for the initial layers and after the first few layers, the fan speed can increase. If you are using a cooling fan already here are a few things to check for-

  • Position– Check if your fans are positioned correctly so that maximum airflow is aimed towards your print.
  • Fan Speed- Without proper cooling, the material will tend to curl up at the places where it crosses the infill lines and forms gaps in the top layer. For best results, ensure that the fans are running at the maximum fan speed as per the cooling settings.

2.  Increase Thickness of Top/Bottom layers

Since pillowing occurs on the top or outer layer, the best solution is to increase the thickness of this layer. A layer that is too thin at the top will be more prone to gaps and holes. Increasing the thickness will seal or close the “gaps” that are otherwise seen when pillowing takes place.

Ideally, the top/bottom thickness should be at least 6 times that of the layer height. For example, if your layer height is 0.1mm then the Top/Bottom thickness should be set to 0.6mm and you can even take it up to 0.8mm to make it full proof.

To edit these settings, check the advanced section of your print application, under the ‘Bottom / Top Thickness setting’.

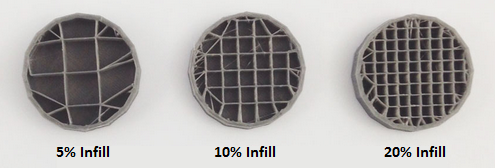
3. Increase infill percentage

Apart from increasing the top/bottom thickness, check your infill settings as well. If the fill density is set at a default 5-10%, you should increase it to at least 20% and retry the print.

4. Use another filament size

If all else fails then consider switching to another filament size. The gaps and holes you see during pillowing could simply be from your filament. It’s a common problem seen in filaments of 1.75 mm. You can avoid the problem by switching to a filament of size 2.85mm as it will allow for better control and higher extrusion rates on wider nozzle diameters. Run a test print to see if the problem is solved!

Image credits: creators.vice.com, 3ders.org, bootsindutries.com, 3dprintingindustry.com, grabcad.com

Wednesday, February 7, 2018

Troubleshooting: Stop your Print Layers from Splitting!

The 3D printing problem- 

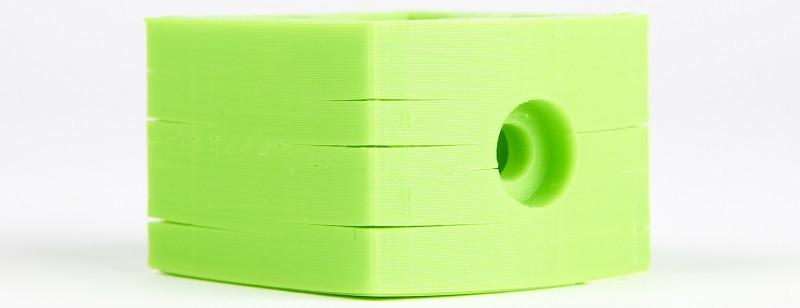
While printing your design you may notice that your object develops cracks or splits along the side even though everything seemed fine while printing. Though this is more common in ABS prints, it can happen with other filaments as well.

Not only do these cracks make your 3d print look bad but they also weaken your print and a lot of hours spent trying to perfect your design goes to waste.

Why does it happen?

3D printing an object involves printing layers upon layers till you reach the final result. Many times a layer will not stick to the previous layer and it creates a gap between the layers which is termed as-  cracking or splitting.

This happens when the top layers begin to cool faster and there is less adhesion between the individual layers. The heat from the heated print bed doesn’t reach that high, and because of this, adhesion in the upper layers is lower.

But don’t worry, there are a few easy things that you can do to keep your prints from splitting!

Check your filament

First things first- check if your filament is the real issue. Many times we forget to store our filament correctly which leads to stripping, snapping and resulting in a weak print. It could also be that your filament is old and has become brittle to work with.

Apart from this, ensure that you’re buying a good quality filament. Cheap or poor quality grade filament will result in poor prints. Switch to a new filament and try printing!

Reduce layer height

Layer separation takes place if the layer height is too large. For the print layers to stick, the nozzle needs to apply exactly the right amount of pressure to the layer currently being laid down. If the layer height is too much then there isn’t enough pressure which results in the layers splitting.

To keep this from happening, make sure that your layer height is about 20% smaller than your print nozzle diameter. For example, if your nozzle has a width of 0.4mm then you should keep the layer height at 0.3mm or less. This ensures that the nozzle is pressing down enough on the material being extruded so that it sticks to the previous layer.

Check the fan speed and direction

Check to see if your fans are aimed in the direction of your 3d print. If the fan speed is too high, it may cause the print to start cooling faster. Reduce the speed so that the heat is retained for better adhesion of layers.

Increase the extruder temperature

The warmer your filament, the better it will bond. If you extrude your print at a low temperature it won’t be adhesive enough and consequently won’t bond to the next previous layer. Instead, it will shrink and pull away from the layer below it.

Make sure that you’re using the correct temperature for your filament. ABS, for example, needs to be printed around 220-235C to create a strong bond between the layers of your print. So if your print temperature is at 200C and you find your layers separating, increase it as required. You can set a higher temperature by selecting the “Temperature” tab under “Edit Process Settings”. Increase the temperature by 10 degrees to see if the adhesion improves.

Use an Enclosure

If all else fails and you find it hard to keep the temperature higher(especially in colder areas) then use an enclosure for your 3d printer. You can maintain an ideal temperature within the enclosure that will keep your layers from cooling down too quickly. Make your very own enclosure with the help of this tutorial by Raging Computer:

Found these tips helpful? Share it with your friends to let them know!

Credits: thisiscolossal.com, ragingcomputer.com, thingiverse.com, imakr.com, rigid.ink, spirit-ink.co.uk

Tuesday, February 6, 2018

Worry Not!! You Can Now Reuse Waste Plastic For Your 3D Prints.

3D Printing is certainly having a lot of impact on our lives, exploring creativity and awesomeness but after every print, there is an extra filament left and oozing out which has to be trimmed.This filament cannot be used again as it is too small.Think about how many 3D printers there are in the world and how many things they’re printing every day, and that’s a whole lot of waste that can only really end up in a landfill.

The biggest environmental issue is to tackle the plastic waste. Plastic has been accumulated on our earth since it was discovered and there is no way out to get rid of it, an alarming sign of pollution now. But it can be recycled and reused, so the better way out of this pollution problem is 3D Printing.

We cannot stop utilizing plastic but surely can make the most of it by recycling it…

Read the stories below to know how to efficiently use the wasted plastic while 3D Printing:

Precious Plastic Project

As the name suggests Precious Plastic is the global community of environment lovers who look forward to ending the plastic pollution. Here anyone can share their collaborative techniques and ideas.Already many people are working towards reusing the old plastics and make creative useful products.

Currently, the team is turning otherwise unrecyclable plastic into functional smartphone cases. Anything from old plastic bottles to takeaway cup tops is being combined to create new iPhone cases.Precious Plastic has created a manufacturing ecosystem to help people to turn plastic waste into valuable products.

We previously covered the project during the initial launch of its open source production platform.The company also gives a toolkit and machinery including a plastic waste shredder, an extrusion machine to create 3D printing filaments from recycled plastics, an injection molder, as well as a compressor to help process the molds. To check the efficiency of these tools they are creating iPhone covers as the first project from recycled plastic.

Reform the campus

UC Berkeley is a leader in 3D printing has students all over the campus printing their favorite things and exploring which also creates a lot of plastic waste.Almost over 600 pounds trash is generated all over. The students Nicole Panditi, and Scott Silva have a solution.

They’re creating a campuswide system that takes used 3D printer plastic, grinds it up, melts it down and produces a new spool of plastic that can be used again in the campus’s 3D printers.

In spite of the fact that there have been a few endeavors to reuse 3D printer plastic on campus and some labs purchase reused fiber, this would be the first run through Berkeley had a framework to reuse all the 3D plastic waste on campus, something Panditi says will be fundamental as 3D printing turns out to be increasingly well known.

From Plastic Bottles

Three engineering physics students at the University of British Columbia in Canada have developed the ProtoCycler, a gadget that can crush a wide range of waste plastic into an excellent clean spool of plastic fiber that can be utilized as a filament of a 3D printer.

We’re talking anything – plastic jugs, 3D-printing shorts, takeaway nourishment compartments. In the event that your children forget their LEGOs one too often for you to tread on with your uncovered feet… toss them in as well. It works simply like a juicer, which you can find in the video.

Sustainability is what we all are striving for. We can surely lend help to keep the earth pollution free by whatever means we can. Even if its a small thing it matters a lot. Plastic cannot be eradicated but better used, so making the most of it is in our hands.

Start with a small change and see how the world changes. A push towards 3D Printing and the better world starts here at Geeetech. Join us to make the world a better place to live in.

Credits: perpetualplasticproject.com,all3dp.com,youtube.com,news.berkeley.edu,sciencealert.com.

Friday, February 2, 2018

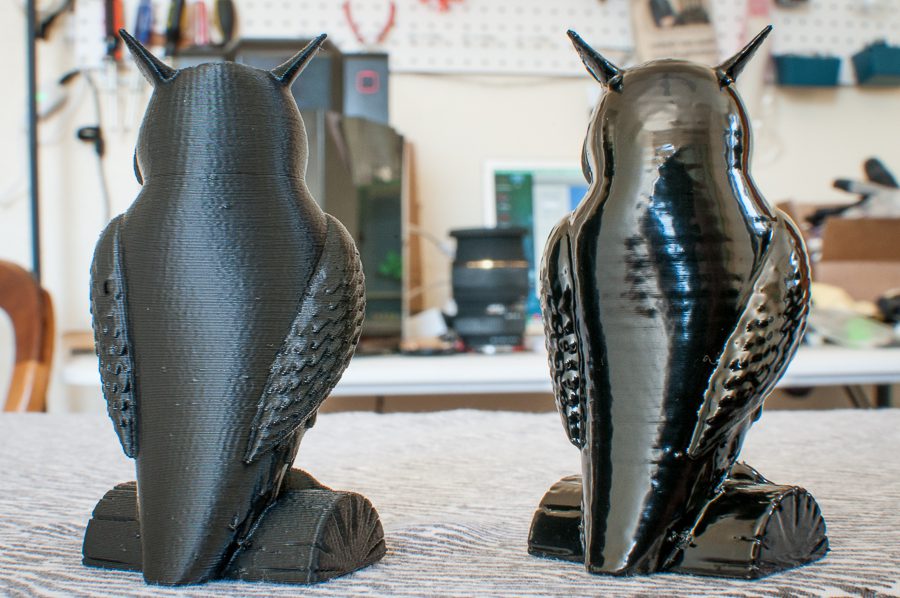
Here’s how you can get smooth and shiny ABS prints at home!

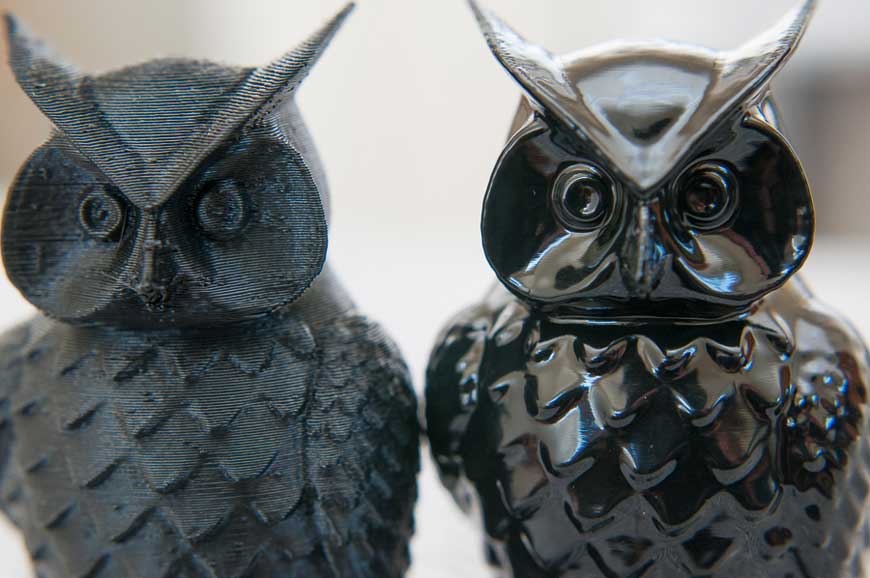
Finishing your 3D prints are just as important as actually printing them out carefully. We all want the end result to be smooth and polished but the surface finish of even the nicest prints are covered in tiny ridges. This is simply due to the way the printer works, building layer by layer on top of each other.

If you’re working with ABS then you’ve probably come across the acetone vapor method or heard about. This guide is here to help you know a little more about this method and even try it out for yourself.

Smooth and shiny prints are on their way!

How it works:

Since acetone is a solvent, it reacts with ABS filament & ASA filament in the form of liquid or vapor. These filaments dissolve easily in the liquid but can also melt completely if the acetone is applied directly on to it. In some cases, it is possible to quickly dip an object into acetone liquid to get a polished surface, but this can be very messy and gives inconsistent results.

Hence it’s much more practical to use acetone vapors instead which allows you to control the process and keep things from getting too messy! As the vapors can get to all exposed surfaces equally, there are fewer areas of uneven melting.

What you will need:

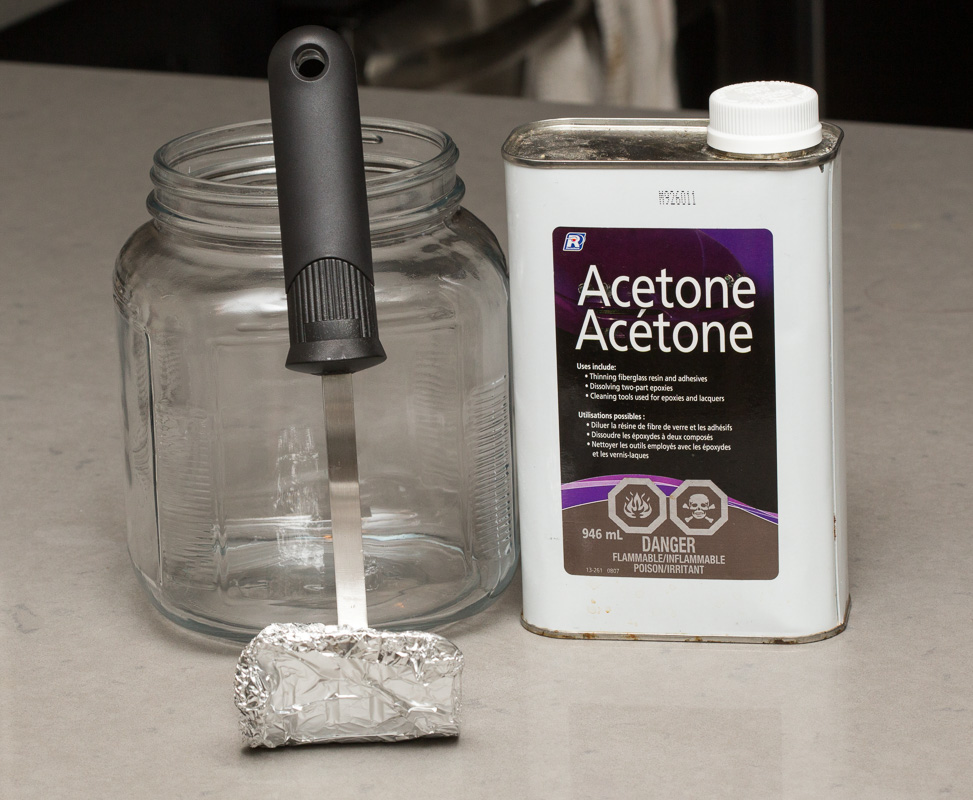
You can build your very own smoothing chamber with the following:

– an  acetone-proof container like a glass vase or tin

– paper towels

– acetone

– a flat, non-porous plate such as glass or metal, to raise the object being polished

Make sure your work area is a well-ventilated one that has no exposed ignition sources. Safety glasses/goggles, mask, gloves are all advisable.

The Method: 

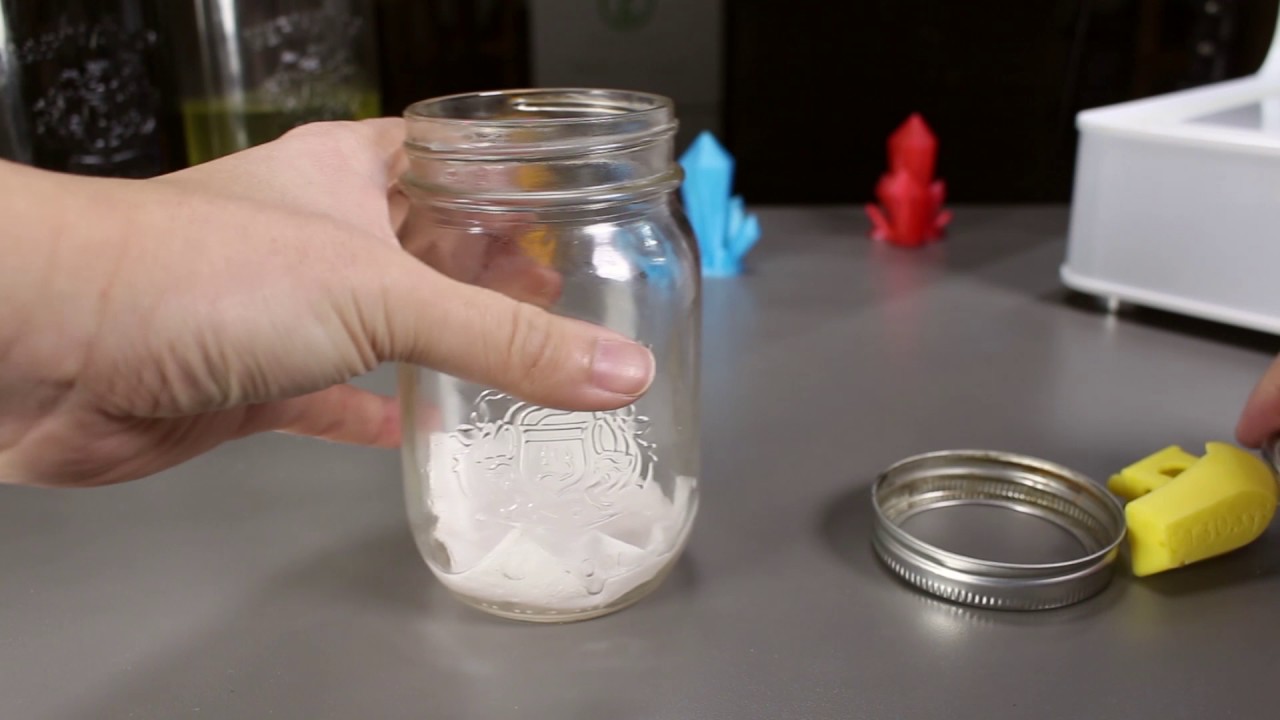
Taking a clean glass container, place a few sheets of kitchen roll along the side and bottom of the container. These will soak up the acetone and allow vapors to form within the container.

To hold the kitchen roll sheets in position, you can place a cardboard or metal support. Make sure that you arrange the kitchen roll in such a way that when it gets wet with liquid acetone it cannot fall down onto your printed objects, as that will destroy any chances of achieving an acceptable finish.

  1. Pour the acetone over the tissue sheets placed at the bottom of the container.
  2. Rotate the container to make sure it has been spread and soaked up evenly.
  3. Invert the container so that the bottom is now at the top. Place your object in the middle of a plate and place the inverted container over it.
  4. Let it sit for a bit and keep an eye on your object. The polishing process has already started!.

Here’s a cool video made by DIY Perks to help you out-

Things to remember:

– ABS from different brands will be different. If your ABS is cheap then it will dissolve unevenly and make your print look distorted so make sure you have a good quality filament.

– The acetone fumes don’t only affect the outside of your print but also penetrate into the body of your 3d printed object.

– After exposing your object to acetone vapors, you will need to air the object for a period of time depending on how dense the 3D print is. For objects with higher density, it could take up to a week or more.

– The polishing process continues even after you remove the object from the acetone chamber so be sure to remove your object when you think it’s halfway there. You can always put it back inside if you feel like it needs more smoothing, but you cannot undo the smoothing so it’s important to go slow.

– Remember that the surface of your object is soft after removing it from the acetone chamber. This makes it more prone to attract dust particles and other tiny particles, so make sure you place it a dust-free area while it hardens.

So there it is! Give this method a try and share this easy trick with your friends! Happy Printing 🙂

Pssst! Need a cool printer to get started but can’t make up your mind? Head over to our Store

Credits: sinkhacks.com, youtube.com, paulsaulnier.com

Monday, January 29, 2018

Troubleshooting: Does your 3D printer stop in the middle of a print? We have the solution.

Let’s be honest- 3D printing isn’t as easy as it looks. Especially if you’re a beginner, there are many problems that you will encounter but that shouldn’t stop you from pushing on. One of the most common 3D printing problems that we face is when your print stops right in the middle and you’re left confused wondering what went wrong. Sounds like something you’ve experienced? Read on for some simple solutions!

The 3D Printing Problem- 

You’re in the middle of a print when suddenly the extruder stops printing and your work is left incomplete.

Why does it happen?

If you’re wondering if something is wrong with your 3D Printer then calm down. There are a few major reasons why a print will stop mid-way and all of them can be solved very easily. The problem lies either with the filament or the nozzle. In many cases, we simply run out of filament or face an issue with the current filament but aren’t aware till the print stops. If it’s not the filament then double check to see if the nozzle is blocked. Here are few ways to fix the problem:

1. Check if you’ve run out of filament

The first thing to check if your print randomly stops is if you have enough filament. Many times we forget that we’re coming to the end of a spool and that there isn’t really anything wrong with your printer.  Just feed your extruder a new spool of filament and carry on with your print. Alternatively, you can use a slicer which will give you a material estimation for your prints. All it does it judge the weight of your spool of filament and tells you if there’s enough filament to complete your print.

2. Did your filament snap?

Filament usually only snap if they are old or have been incorrectly stored which makes them brittle. To make sure you’re keeping your filament stored in the best way check out our guide- An Easy Way To Store Your 3D Printing Filament

If you think your filament is in good condition then check the filament diameter as sometimes the diameters can vary which increases the tension. You can reduce the idler tension if it’s too tight by loosening it.

3. Is your filament stripped?

Stripping of filament is another reason why your extruder stops printing. You can try reducing the retraction and speed setting as well as increasing the temperature by 5-10 degrees. Another reason why your filament can strip is due to a blocked nozzle.

4. Check if your nozzle is blocked

If you constantly switch between filaments like PLA or ABS then there are higher chances of your nozzle getting blocked. A small amount of filament gets left behind which causes it to harden up and when this keeps happening, you’ll find that even though you have sufficient filament, none of will be pushed out through the nozzle.  Take a look at our easy guide to fix your Blocked Nozzle.

5. Check if the extruder is over-heated

With the extruder doing all the hard work, it’s very common for it to heat up excessively during a print. The constant constantly back and forth movement for hours at a stretch can cause the extruder motor to overheat, especially if there isn’t sufficient cooling. Since they have a thermal cutoff, your extruder will stop working in the middle of your print if the temperature gets too high.  The only way to resolve this issue is to turn off the printer and allow the electronics to cool down. To avoid the problem completely try adding an extra cooling fan.

If you found this guide helpful, share it with your friends to help them out!

Credits: all3dp.com, support.markforged.com, 3dnatives.com

Wednesday, January 10, 2018

You can now 3D Print these Exclusive Beauty Products right from home!

You may have heard the saying “People will stare. Make it worth their while”, and certainly, this is possible only due to Makeup which no lady can forget. Imagine if you can 3D print your own makeup matching it to the exact color you want. Like a peach orangish lipstick and rather than imagining about the color, you pick it up directly from the real world. This is now possible thanks to 3D printing. It’s clear to see that 3d printing may soon take over the Makeup industry and soon there will be no brands ruling the scene if all the Beauty products can be custom made. You don’t need a brand when you make beauty products yourself, not only printing out the makeup but also getting it directly painted on your face.

Here are all the Beauty products you can 3D print:

MINK

Grace Choi is a 30-year-old serial inventor who is taking on the $55 billion makeup industry by giving women the power to have what they want when they want it. Her printer connects to the app on your Desktop and uses a dropper tool to choose any color you want that prints onto pods of powder for your personal use. This innovative concept gives a great freedom to choose the colors as there are numerous colors available in nature while the big brands provide specific color choices. Here you don’t need to know how to code, you don’t need to understand 3D printing and you don’t need a boatload of money.

A Harvard Business School student Grace Choi first presented her new invention, Mink a 3D makeup printer at TechCrunch a massive technology conference in New York in 2014. She gave an onstage demonstration to all the audience showing how to pull a color from any image online. She used Adobe Photoshop and chose to copy the exact eyeshadow shade used in Michelle Phan tutorial and then print it normally like you know: File, print and so on directly on the cosmetic substrate using a similar printer to home offices one.The ink-jet printer went to work dyeing a colorless powder (it can also dye cream products) with an FDA-approved ink, and in less than 30 seconds she had the same eyeshadow from the video. She popped it into a makeup palette to make it look pretty, and voila— a makeup from a printer. The Mink makeup printer is currently on a preorder for $275.

We can just assume that if this works well all the retailers will see a decline in sales.Because of its affordable price point, convenient approach, and customizability, why would any makeup junkie ever walk into a busy department store again?

MODA

Stockholm, Sweden-based skincare company, Foreo, has just unveiled MODA, ‘the world’s first digital makeup artist. MODA will integrate the 3D printing with the real-time facial mapping software.All you need to do is choose from a library of dozens of pre-set looks of a simple mobile application.

Once chosen, the look can be previewed on an image of the users face, and if they like what they see, they simply place their face into the printer, it scans their facial geometries and then 3D prints the makeup onto their skin in just 30 seconds. They have developed a feature where you can browse and choose from the available libraries and select the best red carpet look. You can check whether the look suits your face or not.The ‘Uniquely You’ mode will suggest looks based on an individual’s facial geometries.

The makeup is applied layer by layer like first the primer then the foundation and the final 3D printed layer is the high-impact color for the cheeks, lips, and eyes. Thus the future of 3D printing is just making impossible things possible.

Personalized Lipstick Applicators

For a woman,  lipstick is very personal, right from choosing the right shade to choosing whether you want it to be matte or glossy etc.. every woman’s preference is unique. Also, every women’s mouth is of a different shape.Now there is also a need for a personal applicator rather than the normal way.The Cosmetic Science Research Group at London College of Fashion have proposed a more convenient way to apply lipstick instead of the standard swivel-up tube. With the help of 3D scanning and printing, they have developed a personal applicator that is convenient to apply.

To create the applicator, firstly you need to scan the lips then a profile with the data was created. The researchers then transfer the digital image model of the lips to Autodesk 3ds Max for modelling and optimization.To create the best mould two 3D printing techniques and 3 different materials were used than the filled the moulds with lipstick, put them in the fridge and removed them after 15 minutes. The only winner was PLA as it got perfectly detached from the lipstick.The most obvious benefit of having your own 3D lip scan is that you don’t need to find a mirror anymore since it’s perfectly shaped to your mouth.

3D Printed Lipsticks

Smashbox is allowing us to apply customized lipsticks. From a part of their BE LEGENDARY collection, the customer got to choose from 120 different shades.The Smashbox Custom 3D Printed Lipstick printed out on a compact case in any shape the consumer desired. You can choose any design that you want: hearts, emoji stars, signatures, Twitter handles, logos—you name it. The print gets transferred into a mirror compact, and you are ready to apply the lipstick using a brush or your fingers.

Credits: thezoereport.com,allure.com,forbes.com,techstyle.nyc,thebestbeautyblog.com,images.yourstory.com,