Showing posts with label post-processing guides. Show all posts

Friday, February 2, 2018

Here’s how you can get smooth and shiny ABS prints at home!

Finishing your 3D prints are just as important as actually printing them out carefully. We all want the end result to be smooth and polished but the surface finish of even the nicest prints are covered in tiny ridges. This is simply due to the way the printer works, building layer by layer on top of each other.
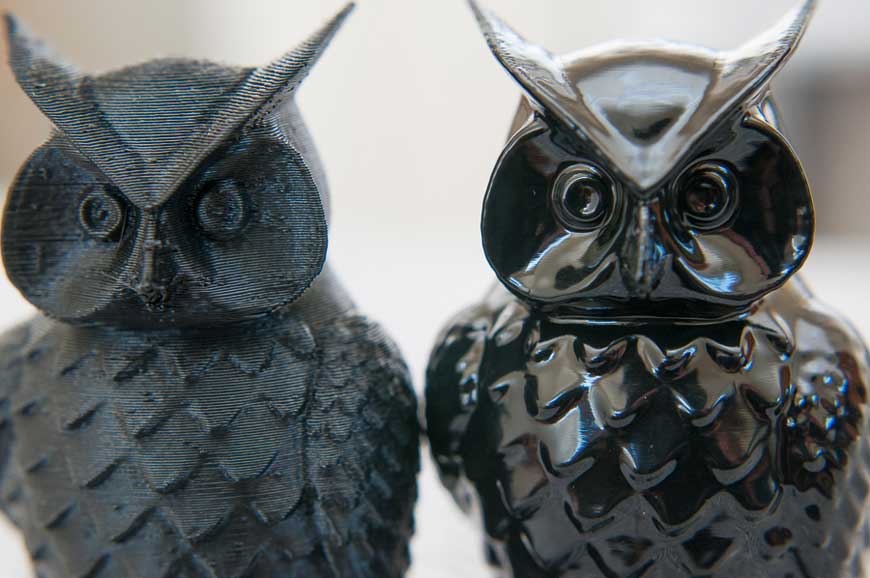
If you’re working with ABS then you’ve probably come across the acetone vapor method or heard about. This guide is here to help you know a little more about this method and even try it out for yourself.

Smooth and shiny prints are on their way!

How it works:

Since acetone is a solvent, it reacts with ABS filament & ASA filament in the form of liquid or vapor. These filaments dissolve easily in the liquid but can also melt completely if the acetone is applied directly on to it. In some cases, it is possible to quickly dip an object into acetone liquid to get a polished surface, but this can be very messy and gives inconsistent results.

Hence it’s much more practical to use acetone vapors instead which allows you to control the process and keep things from getting too messy! As the vapors can get to all exposed surfaces equally, there are fewer areas of uneven melting.

What you will need:
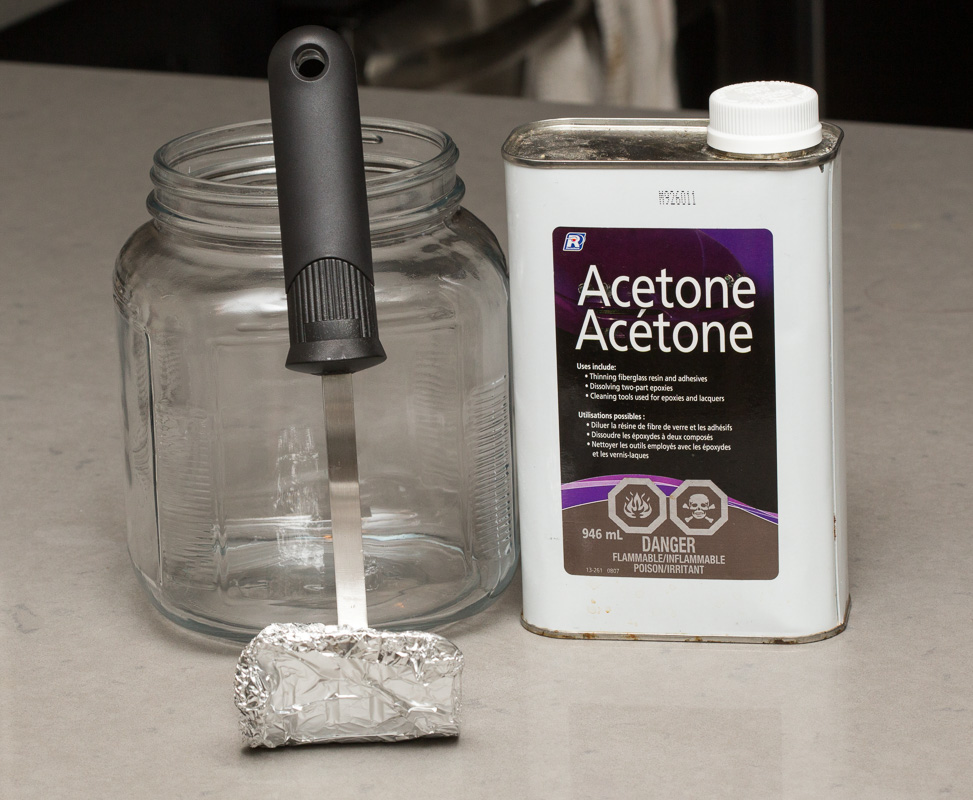
You can build your very own smoothing chamber with the following:

– an  acetone-proof container like a glass vase or tin

– paper towels

– acetone

– a flat, non-porous plate such as glass or metal, to raise the object being polished

Make sure your work area is a well-ventilated one that has no exposed ignition sources. Safety glasses/goggles, mask, gloves are all advisable.

The Method: 
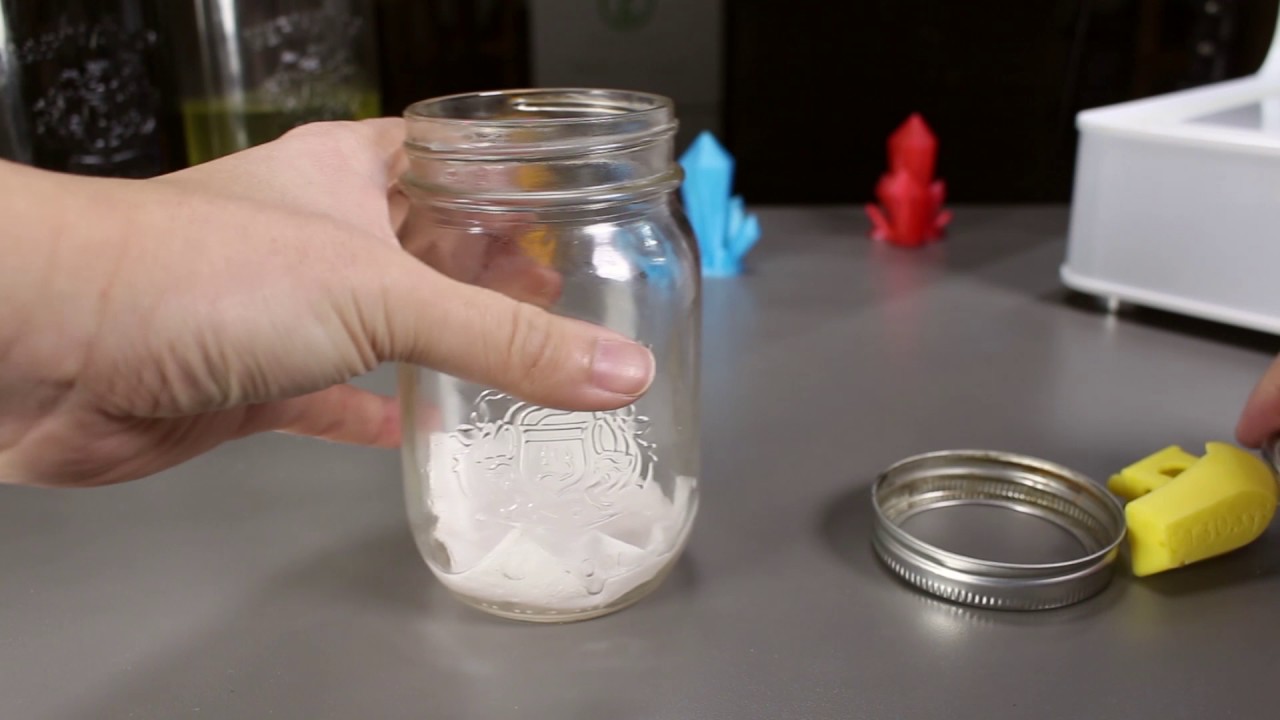
Taking a clean glass container, place a few sheets of kitchen roll along the side and bottom of the container. These will soak up the acetone and allow vapors to form within the container.

To hold the kitchen roll sheets in position, you can place a cardboard or metal support. Make sure that you arrange the kitchen roll in such a way that when it gets wet with liquid acetone it cannot fall down onto your printed objects, as that will destroy any chances of achieving an acceptable finish.

  1. Pour the acetone over the tissue sheets placed at the bottom of the container.
  2. Rotate the container to make sure it has been spread and soaked up evenly.
  3. Invert the container so that the bottom is now at the top. Place your object in the middle of a plate and place the inverted container over it.
  4. Let it sit for a bit and keep an eye on your object. The polishing process has already started!.

Here’s a cool video made by DIY Perks to help you out-

Things to remember:

– ABS from different brands will be different. If your ABS is cheap then it will dissolve unevenly and make your print look distorted so make sure you have a good quality filament.

– The acetone fumes don’t only affect the outside of your print but also penetrate into the body of your 3d printed object.

– After exposing your object to acetone vapors, you will need to air the object for a period of time depending on how dense the 3D print is. For objects with higher density, it could take up to a week or more.
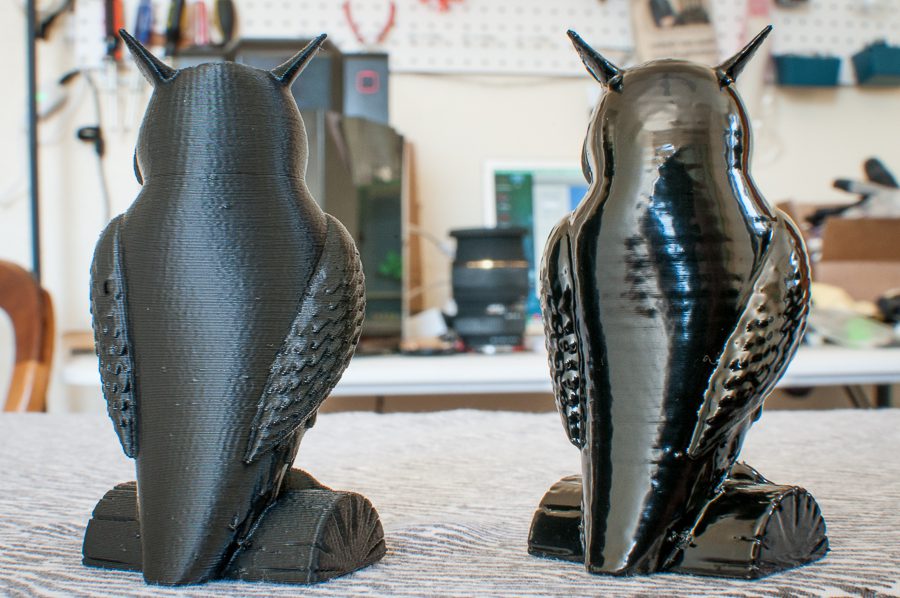
– The polishing process continues even after you remove the object from the acetone chamber so be sure to remove your object when you think it’s halfway there. You can always put it back inside if you feel like it needs more smoothing, but you cannot undo the smoothing so it’s important to go slow.

– Remember that the surface of your object is soft after removing it from the acetone chamber. This makes it more prone to attract dust particles and other tiny particles, so make sure you place it a dust-free area while it hardens.

So there it is! Give this method a try and share this easy trick with your friends! Happy Printing 🙂

Pssst! Need a cool printer to get started but can’t make up your mind? Head over to our Store

Credits: sinkhacks.com, youtube.com, paulsaulnier.com

Thursday, November 30, 2017

Struggle no more! These hacks will make it surprisingly easy to bond your 3D printed parts together!

You may have printed all the parts of your new 3D printed model but the next question that arises is- How do you bond them all together?

Finishing your 3D printed model is as important to perfectly printing the individual parts. And bonding them neatly and accurately is even more so or all that effort to print them is gone in vain!

One way to get a good outcome is to create your print in multi-part assemblies, but how do you combine them to get a 3d printing result you can be proud of?

Super Glue

Almost everyone uses Superglue for 3D printed projects. Easily accessible as well as easy to use makes Superglue the major go-to for printing 3d printed parts. Be it Super Glue, Gorilla Glue, or a two-part epoxy, it is a common and flexible choice but it may not be the best. Take a look at the other items below.

Solvent

If you’re looking for another medium and super glue just isn’t your thing then maybe you should consider using a solvent instead. A solvent like Acetone, for example, will let you bond parts essentially, chemically melting it. Just be careful and give your project enough ventilation.

So why is a solvent such a popular pick? Well, with solvent, what is left is just the plastic – nothing added. Also, being a watery liquid, it can drip, seep and draw into places other methods cannot reach.

Most people are aware that ABS can be solvent welded with Acetone, which is commonly found at hardware stores in bulk or drug stores. But whats interesting to learn is that some PLA filaments can be solvent welded with it too!You can experiment with some PLA of your own and find what works best for you.Make sure you use a natural brush rather than one with plastic bristles.

HIPS can be dissolved by limonene, but the modeling solvent Polystyrene can also be used, just like when you build model airplanes! Another advantage of solvent is, in addition to brushing it on neat, you can use it to fill larger gaps by dissolving some filament for a while to make a thicker consistency.

Hacks like these call for a lot of DIY and if that’s what you love then check out the Geeetech prusa I3 A Pro 3D printer DIY kit – It’s perfect for every DIY buff!

Heat

Just as solvent melting does, you can also, obviously, use heat. Usually melting filament comes from the extruder or leaving your part in a hot car, but a soldering iron or even hot air gun can be employed.

Heat melting is the least favorite technique used because you could easily melt your 3D model to a goop if use too much heat.

Friction Welding

Friction welding is the process of welding two objects together by harnessing the heat generated by friction. To generate the heat required to melt the plastic you’ll need a rotary tool like a Dremel or drill where you can insert some filament into the collet where the drill bit would usually go, then get it up to speed while applying light pressure against where you want to join.

Once the filament is spinning in the rotary tool the idea is to gently feed the fast spinning filament into your seam line. The friction created by the rotation raises the filament and model to their glass transition temperature at which point you feed the filament into the seam.

3D Pen

One of the most fun and handy ways of bonding your designs is with a 3D Pen and once you try it, you won’t want to use any other method again! A 3D pen saves you from all the hassles of using solvents, heat and drill machines!

It doesn’t deform your print and you also get the exact color and detail that you need. Apart from this you can even fill in gaps and stick together broken pieces that may have fallen off. It works well with ABD and PLA filaments.

So which of these hacks will you be using for your next project?

Credits- photobucket.com, makezine.com, inhabitat.com